Qovery make it easy to create an RDS database on AWS with a few clicks. You might however want to create your own RDS instance in a separate VPC. For example in case you want to use the same instance with several Qovery clusters.
Before you begin, this guide assumes the following:
- You have an AWS account.
Goal
This tutorial will show you how to create an production-ready RDS PostgreSQL instance on AWS.
To connect your Qovery cluster(s) to the created RDS database, refer to this tutorial
Create RDS database
Go to the AWS RDS console and click
Create database
Select your database type
- We will need to create a dedicated VPC, so select
Standard create. - Then chose your database type (we'll use PostgreSQL for our example) and the version.
- Since we're creating a production database, we'll select the
Productiontemplate. You can pickDev/Testtemplate for non-production environments.

- We will need to create a dedicated VPC, so select
Settings
Select a name for your RDS instance, here
my-production-database, master username and password.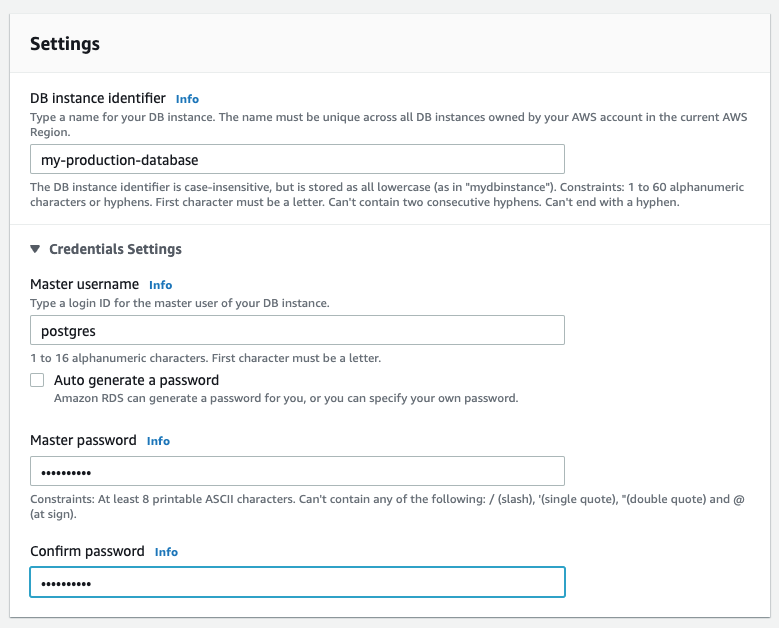
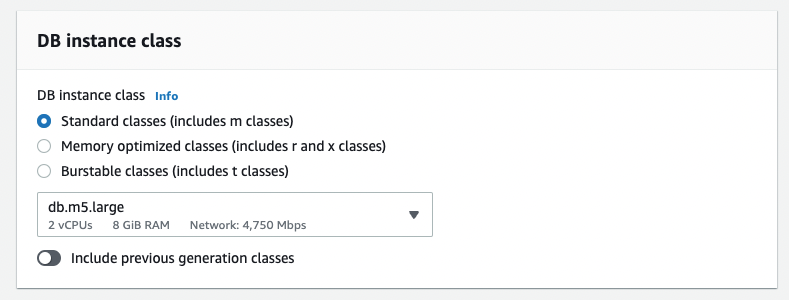
Instance class
Pick an instance class that works for your needs. You can refer to this document for more information about the different options: https://docs.aws.amazon.com/AmazonRDS/latest/UserGuide/Concepts.DBInstanceClass.html
Storage
General Purpose SSDshould be the right option for most cases. Chose the allocated storage that fits the needs of your application. We also advise you toEnable storage autoscalingin case you need more storage over time.
Availability & durability
For a production setup you should
Create a standby instance. For non-production usecase you can avoid it to reduce costs.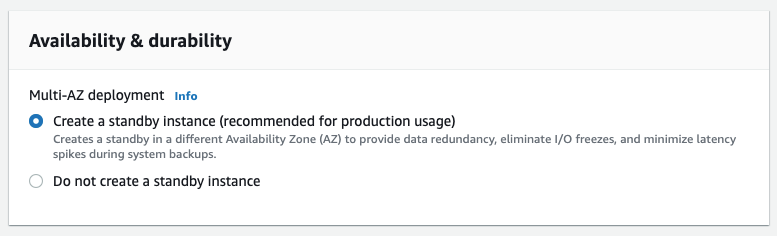
Connectivity
- Since we want the database to live in it's own VPC, make sure to select the
Create new VPCoption. - Also select
Create new DB Subnet Group. - We advise you to disable
Public accessfor security reason. We'll setup VPC peering in the next guide to allow access from your Qovery clusters through private networking. - Finally chose
Create newsecurity group and give it a name.

- Since we want the database to live in it's own VPC, make sure to select the
Database authentication and estimated costs
Chose
Password authentication.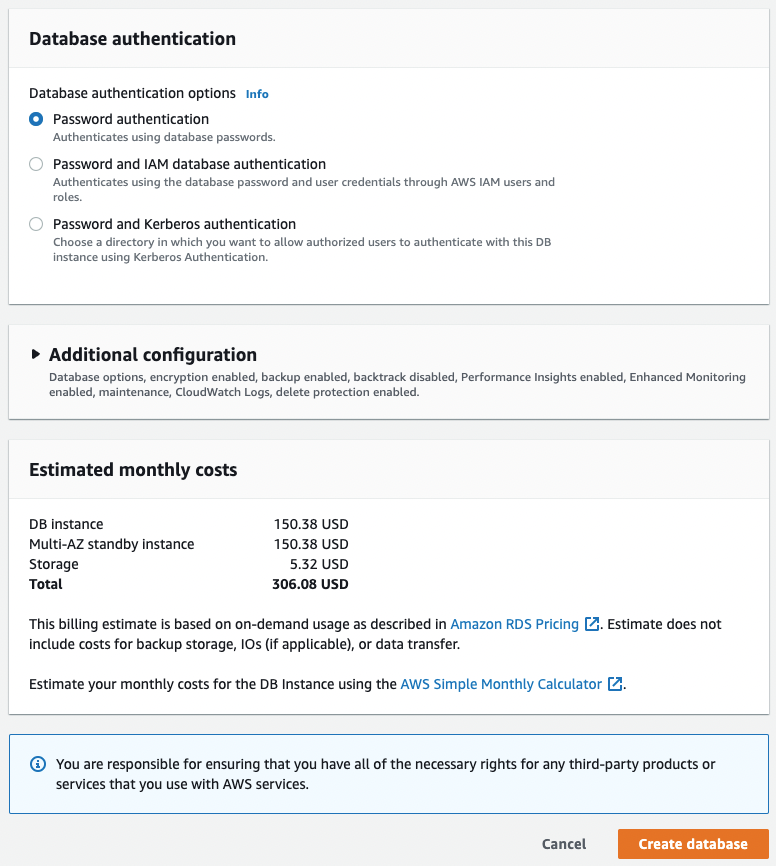
You can then click on
Create databaseDatabase creation
You should see your new RDS instance in the list of databases, with the
Creatingstatus.
Name your RDS VPC
The VPC created for the new RDS database will be named
-. For convenience you should rename it.Click on your database in the list, then on the VPC id.
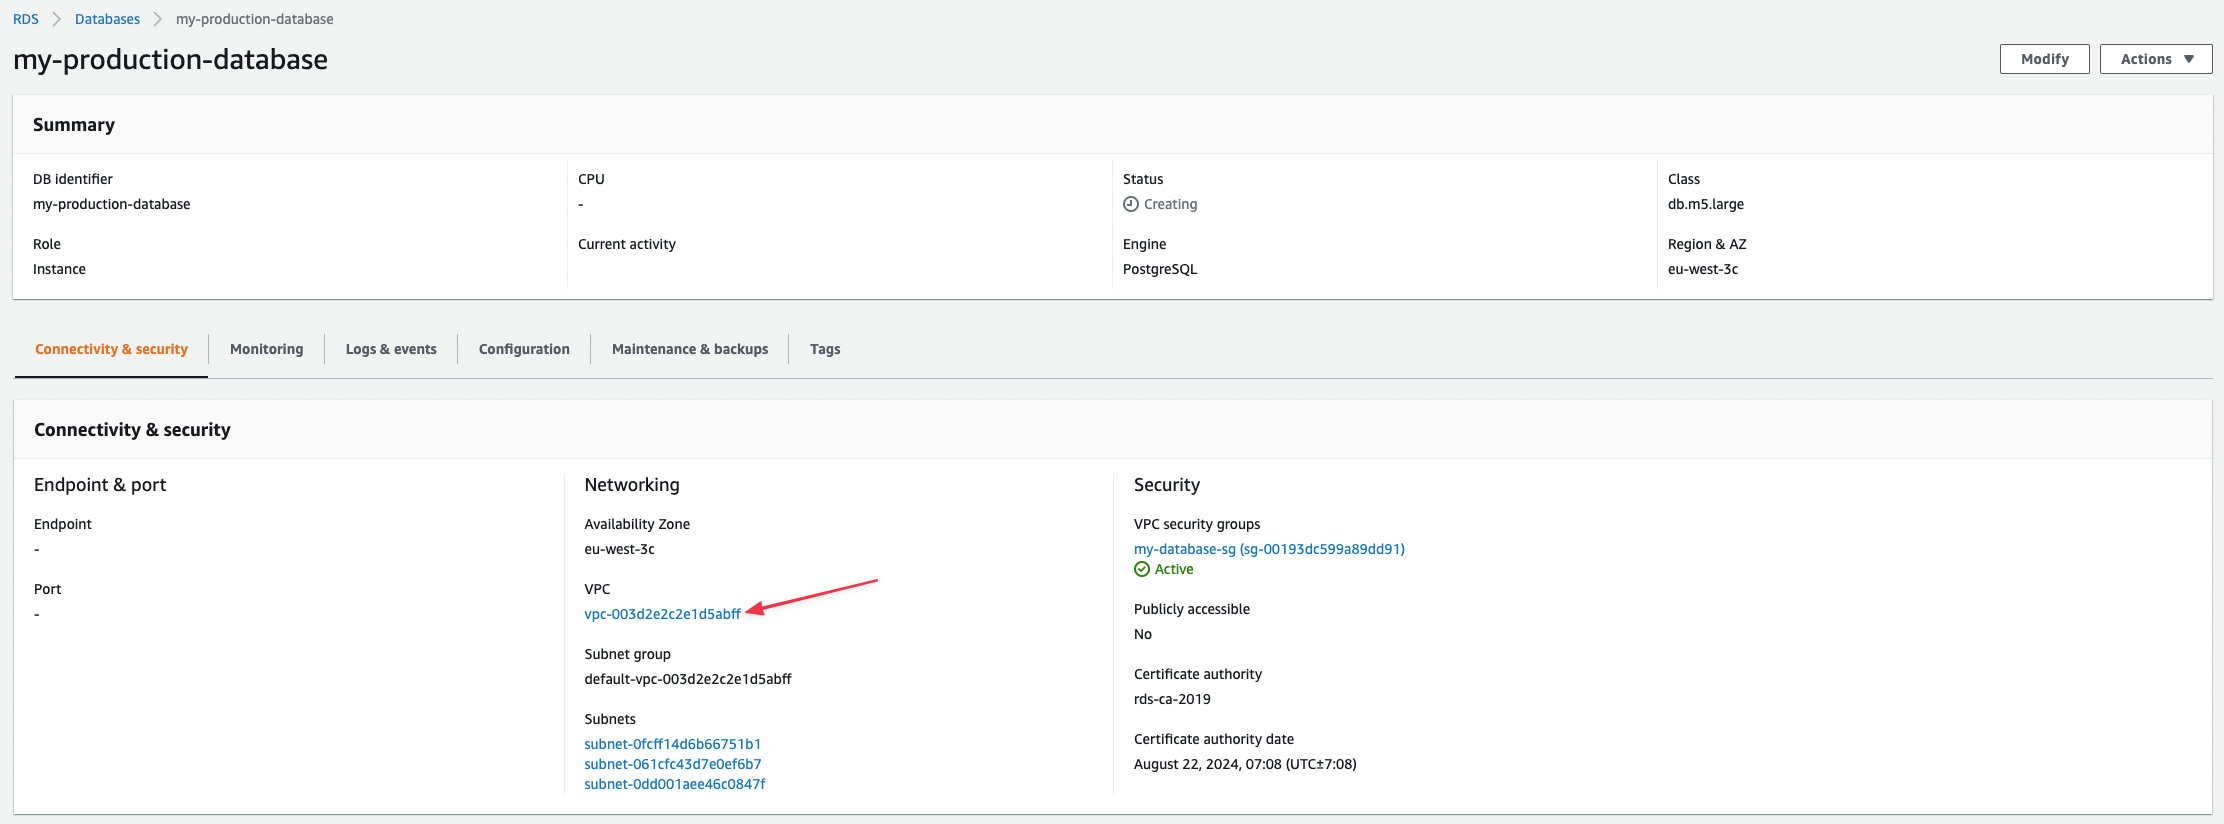
You will be redirected to the VPCs list, filtered on the VPC id. Click on the edit icon in the
Namecolumn, and give it a meaningful name.

Conclusion
Your RDS database is ready. Now in order to access it from your Qovery cluster, we will need to setup VPC peering. You can find the procedure in this tutorial