JupyterHub is an easy way to interact with a computing environment through a webpage. It provides a standardized way to serve Jupyter Notebooks for multiple users. Pairing it with Kubernetes and Qovery makes it easier to manage and scale.
Before you begin, this guide assumes the following:
- You have a Qovery cluster ready
- You have a dedicated Qovery project and environment to deploy JupyterHub (example: Project=JupyterHub, Environment=Production)
Installation
The easiest way to deploy JupyterHub is using the official Helm Chart. It will create all the resources you need to run JupyterHub.
For more information, the official documentation is available here.
Add the JupyterHub helm repository
Add the JupyterHub helm repository in your Qovery settings by following this documentation
- Repository name:
JupyterHub - Kind:
HTTPS - Repository URL:
https://hub.jupyter.org/helm-chart/
- Repository name:
Create the JupyterHub service within Qovery
Create the JupyterHub service in the Qovery environment of your choice (preferably within a dedicated JupyterHub project) by following this documentation and these values:
- General:
- Application name:
JupyterHub - Source:
- Helm source:
Helm repository - Repository:
JupyterHub(the name given during the JupyterHub helm repository added in the previous step) - Chart name:
jupyterhub - Version:
3.3.7(this is the version we used for this setup, update it based on the chosen version) - Allow cluster-wide resources ✔️
- Helm source:
- Application name:
- Values
- Values override as file:
- File source:
Raw YAML - Raw YAML:
- Default
- EKS with Karpenter
fullnameOverride: "jupyterhub"proxy:service:type: ClusterIPThere are many other values you can set to modify the JupyterHub behavior. For advanced usage, check: JupyterHub Customization
Now get to the last step and
Createthe service on Qovery.- General:
Add Network configuration
In the previous step, we created the JupyterHub service. In this step, we will update its configuration to make it available on the public network (through Qovery Nginx Ingress).
- Open the JupyterHub service details
- Enter the
Settingssection - Click on
Networking - Add a new Port with:
- Service name: jupyterhub-proxy-public
- Service port: 80
- Select protocol: HTTP
- External port: 443
- Port name: jupyterhub-proxy-public-p80
If you need more information on how to manage your ports, have a look at this
Deploy your chart
Open the
Playbutton and trigger the deployment of your chart.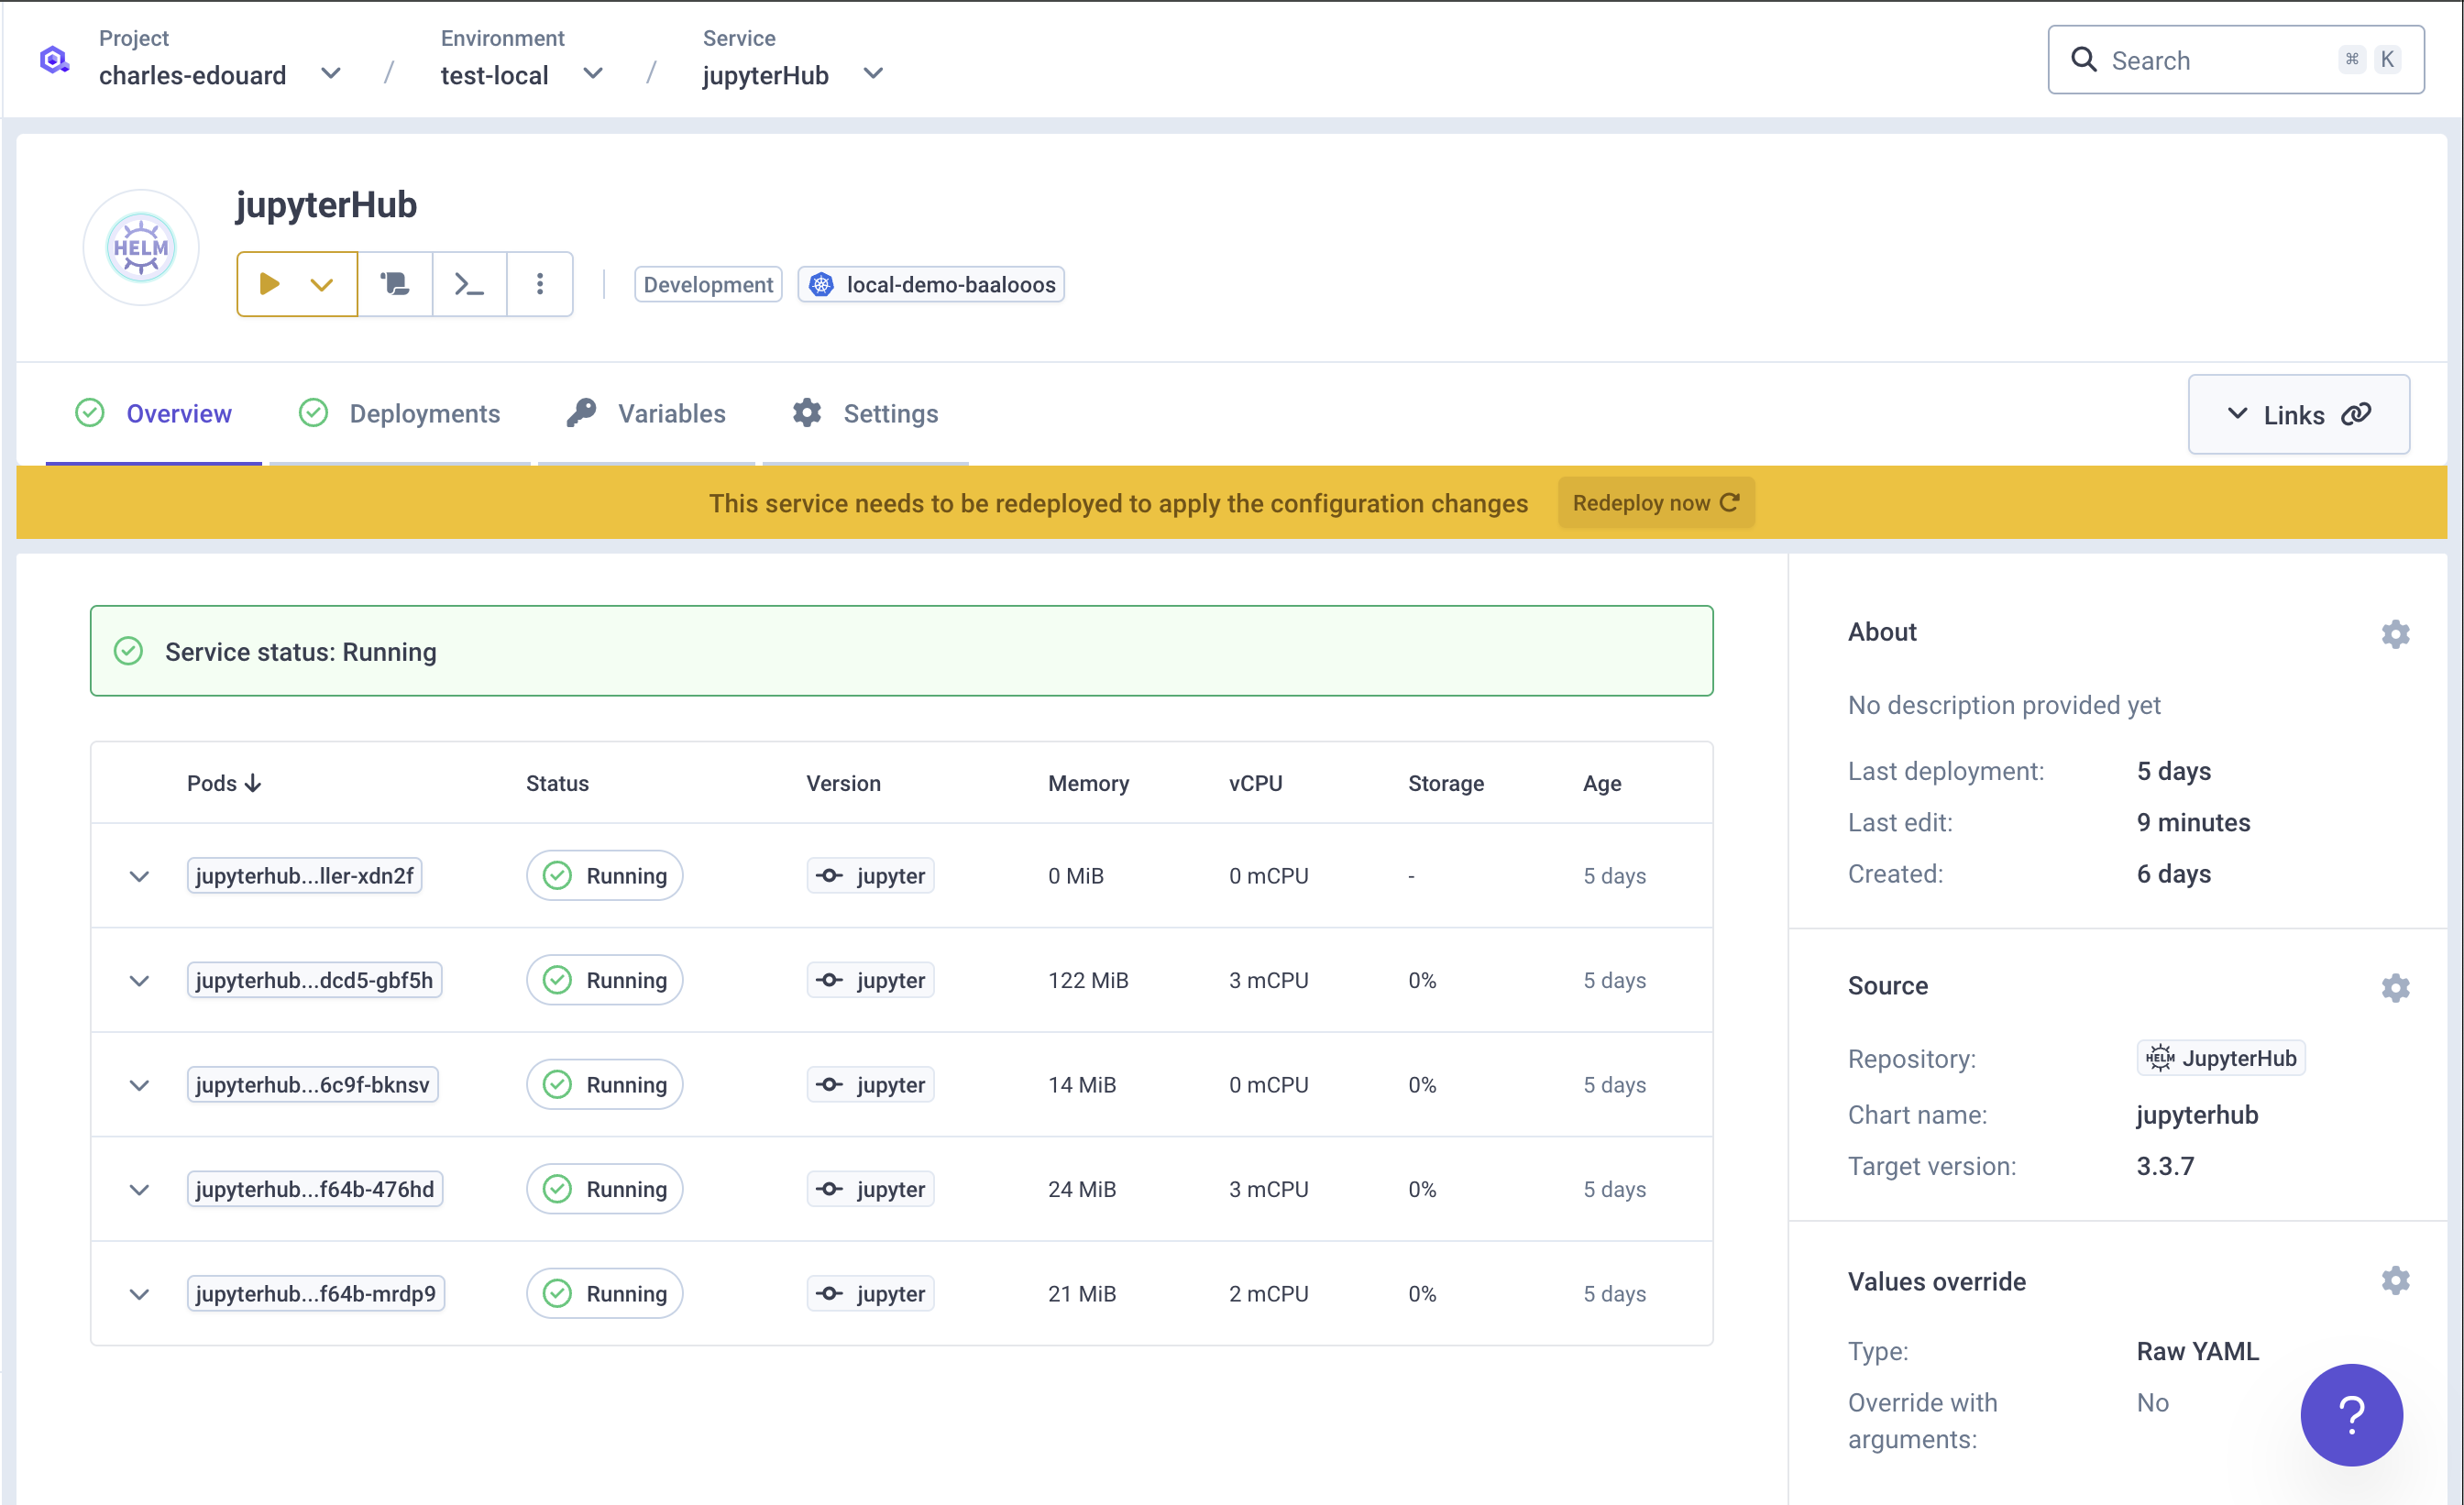
Access JupyterHub
You can click the
Linkbutton to access JupyterHub on your cluster.
Now you can login to the webUI and start playing with Jupyter Notebooks.
Conclusion
JupyterHub is running on your Qovery cluster. This is a simple installation and you should try to customize it according to your needs. You can also check theAdminstrator Guideto better understand how it works.