Validate the installation
To verify that everything works fine on brand new installation, we will deploy a few simple applications.
Step 1: verify container deployment
- Create an environment
Open the Qovery console and access the "Environment" section.
Add a
new environmentand select as target the cluster that was created in the previous step. - Create an application
Within this environment, create a new service of type
Application.Fill the fields this way:
- Name: test
- Application source: Container Registry
- Registry: Dockerhub public
- image name:
stefanprodan/podinfo - image tag:
6.5.2
Click on
Continueuntil the installation recap is displayed. Now click onCreate and deploy. - Follow the deployment
The application will start the deployment and you can follow it opening the
Logbutton or by pressing on theDeployment status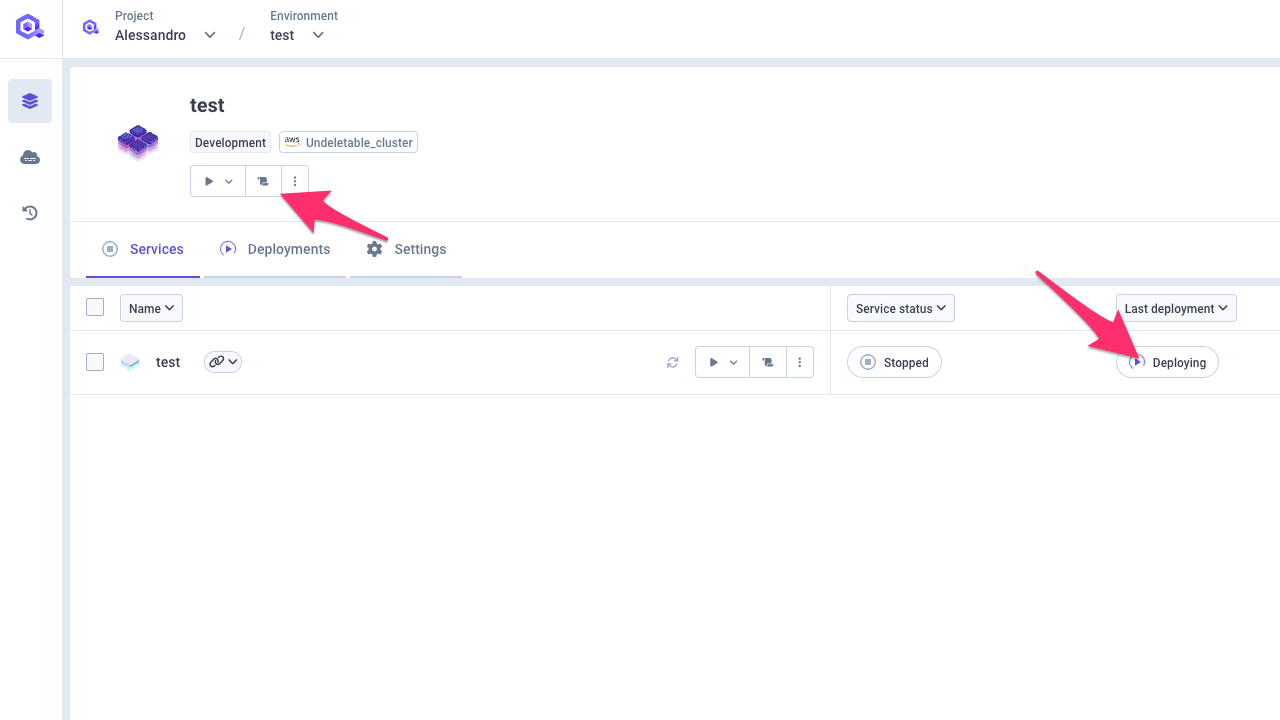
After a few seconds, the deployment should end and the message
Deployment of Container succeededshould be displayed in the deployment logs.You should now see at least one pod running on your cluster with the specified container.
- Verify Qovery functionalities
Click on the log button to access the
Live logssection.You should be able to: 1) access the log of the deployed application 2) retrieve the running status of the application from the element next to the
Live logstab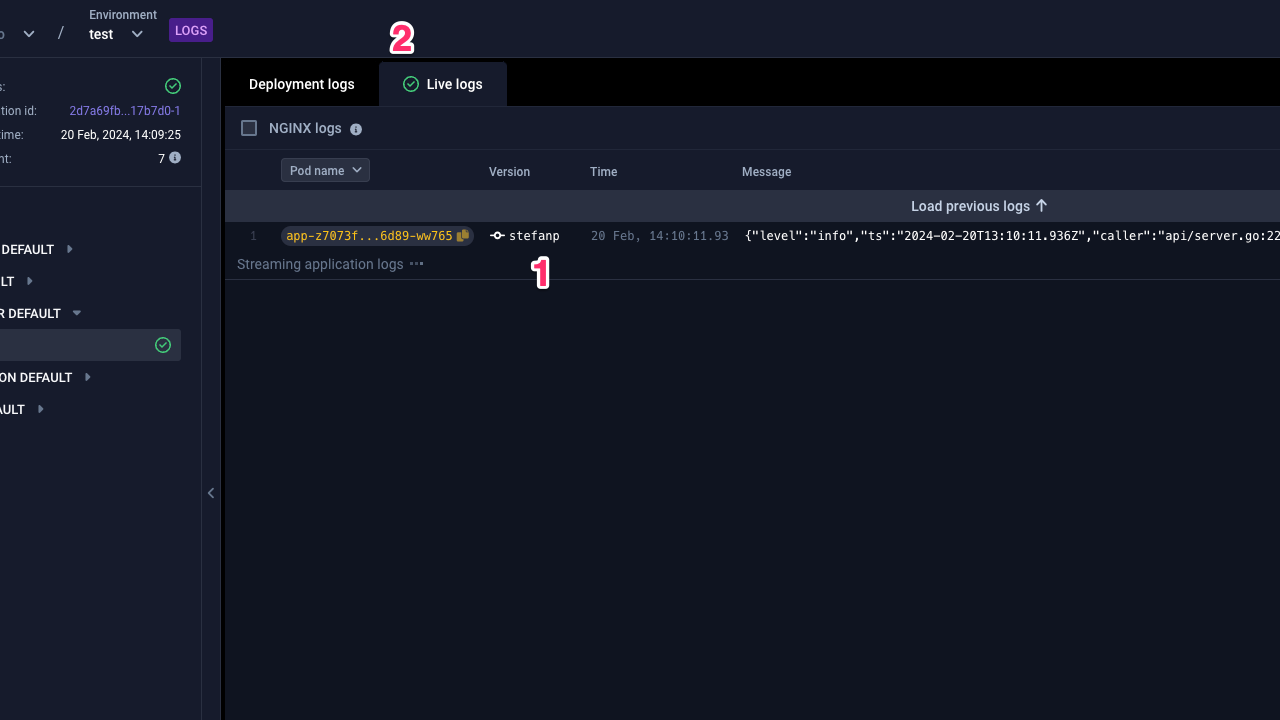
Step 2: verify application public exposure and TLS
- Expose container publicly
Open the settings of the container created in the step 1. Open the section
PortAdd one port with:
- Application port: 9898
- Protocol: HTTP
- Publicly exposed: true
Add the port and then click on
Re-deploy nowbanner. - Follow the deployment
The application will start the deployment and you can follow it opening the
Logbutton or by pressing on theDeployment statusAfter a few seconds, the deployment should end and the message
Deployment of Container succeededshould be displayed in the deployment logs. - Check the accessibility
Click on the "Link" button and select one of the URLs of the list.
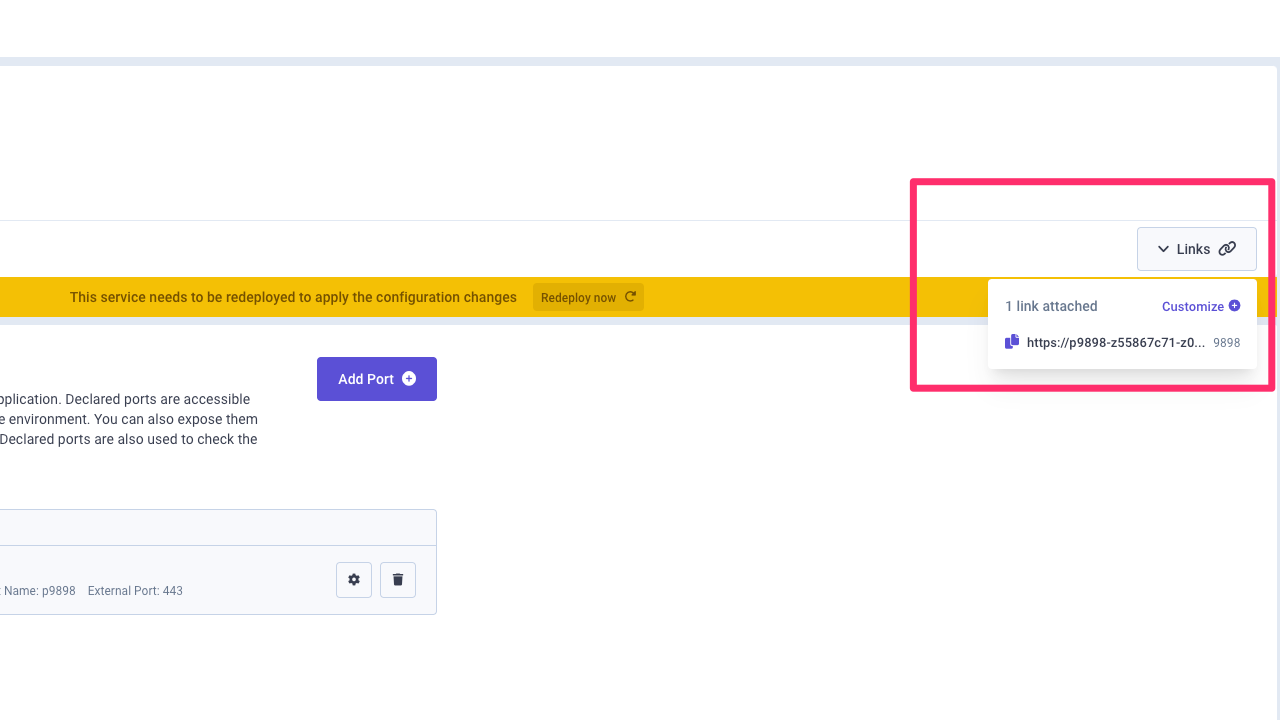
You should be able to access the podinfo homepage with a valid certificate.
Step 3: verify storage availability
- Create a database
Go back to the environment page and create a new service of type
Database.Fill the fields this way:
- Name: test-db
- Database Mode: Container
- Database type: Mysql
- version: select one from the list
- accessibility: private
Click on
Continueuntil the installation recap is displayed. Now click onCreate and deploy. - Follow the deployment
The databse will start the deployment and you can follow it opening the
Logbutton or by pressing on theDeployment statusAfter a few seconds, the deployment should end and the message
Deployment of Database succeededshould be displayed in the deployment logs.You should now see at least one pod running on your cluster with the specified container and you should be able to access your database from within you cluster (you can retrieve the connection string via the button
Connection URIavailable in the database overview targetCPUUtilizationPercentage)