Object Storage
The default filesystem for applications running on Qovery is ephemeral. Application data isn’t persisted across deploys and restarts, which works just fine for most apps because they use managed databases to persist data. If, however, your application needs persistent storage across restarts or needs to store large amounts of data that doesn't really fit well to be stored in databases, Object Storage might fit your needs.
Examples of applications:
- Music streaming services like Spotify
- Photo-heavy apps like Instagram, Facebook
- Storing backups/archives over long periods
Use cases
✅ Good use cases
- Storing large amounts of read-only data
- High availability
- High scalability
- Unstructured data like music, photos, videos
- Geographical distribution of data
❌ Bad use cases
- For I/O intensive applications (e.g. databases)
- Frequent data updates
- Temporary files
- Transactional data
Pros & Cons
Pros
- Reduce infrastructure costs of storing data
- Reduce management time because of the easiness of scalability
Cons
- Not suited for frequently changing data
- Eventual consistency of data might be not enough for certain types of applications that require strong consistency
Using Object Storage
Using Object Storage with Qovery is very simple. All you need to do is to set up a bucket in the cloud provider of your choice and configure your application to use it using secrets or environment variables.
AWS
Navigate to AWS S3 Console
Click Create bucket button
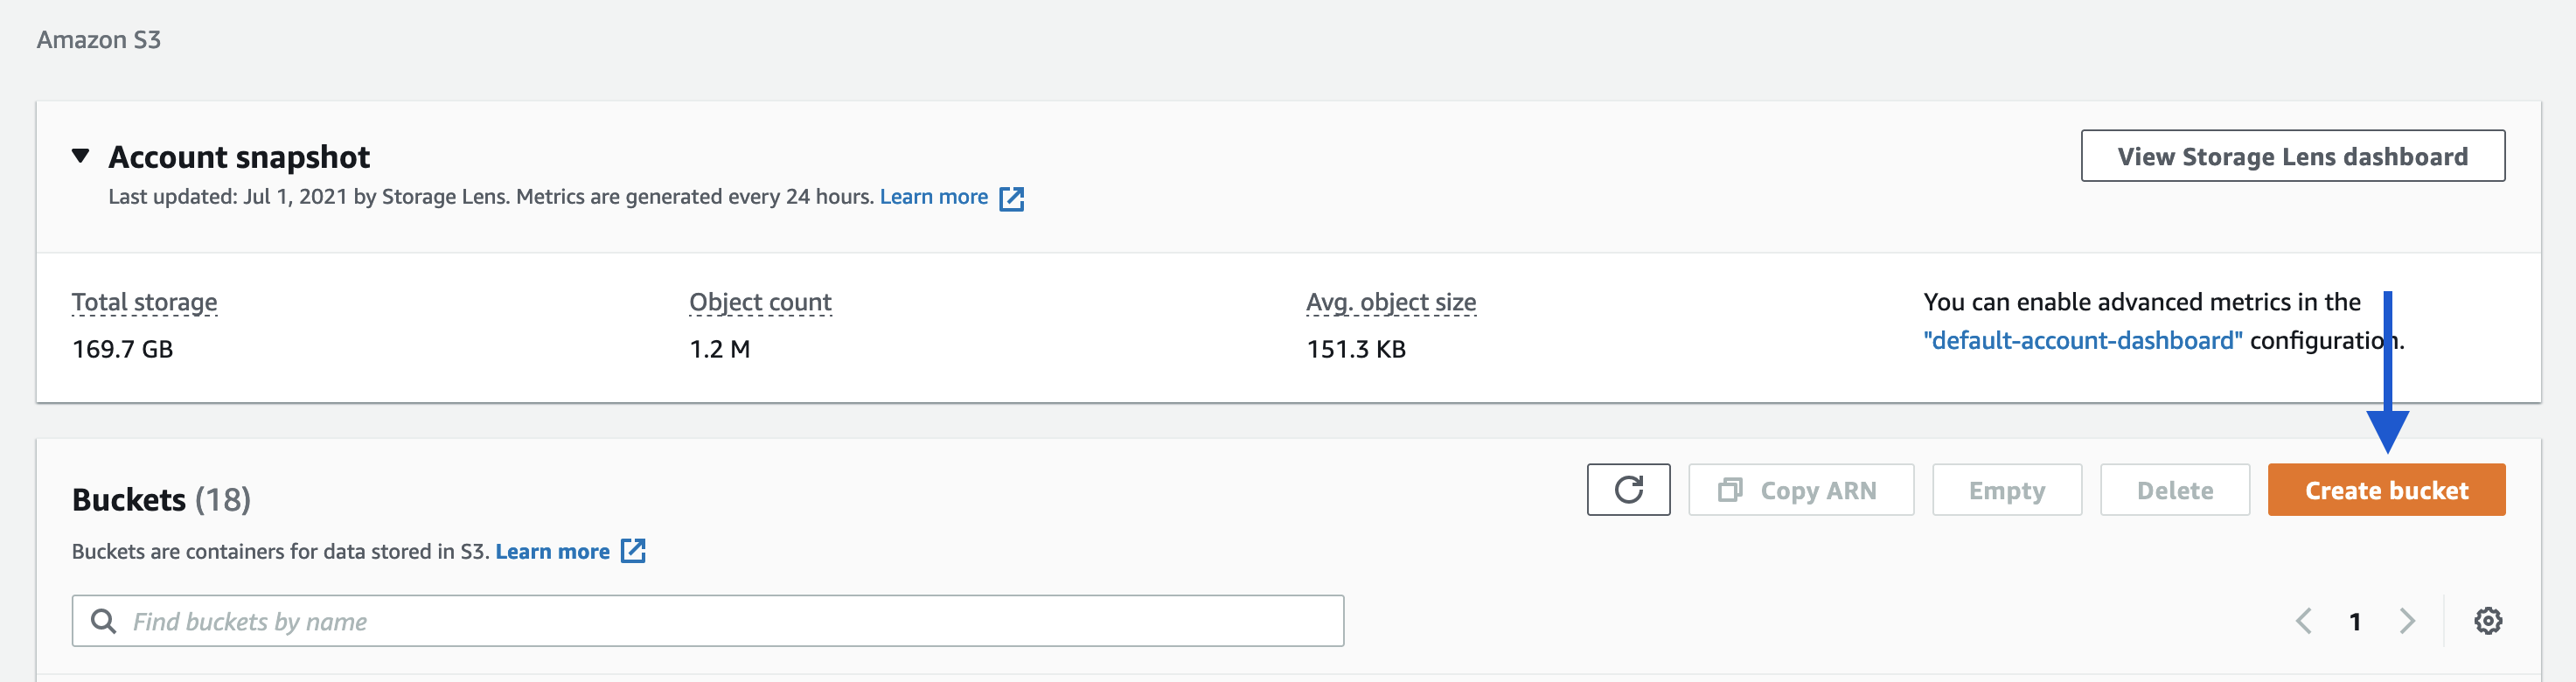
Set up your bucket settings, like name, permissions, cloud region
Connect your application to your bucket (example using Node.js)
// Load dependenciesconst aws = require('aws-sdk');const express = require('express');const multer = require('multer');const multerS3 = require('multer-s3');const app = express();// Set S3 endpoint to AWS S3 in correct regionconst endpoint = new aws.Endpoint('s3.us-east-2.amazonaws.com');const s3 = new aws.S3({endpoint: endpoint});// Change bucket property to your Bucket nameconst upload = multer({storage: multerS3({s3: s3,bucket: 'your-bucket-here',acl: 'public-read',key: function (request, file, cb) {console.log(file);cb(null, file.originalname);}})}).array('upload', 1);If your bucket access is secured, all you need to do is to set up those environment variables in your application:
- AWS_ACCESS_KEY_ID
- AWS_SECRET_ACCESS_KEY
You can set up secrets in your application by following our guide.
Digital Ocean
Navigate to DO Console
Click Create, and Spaces button
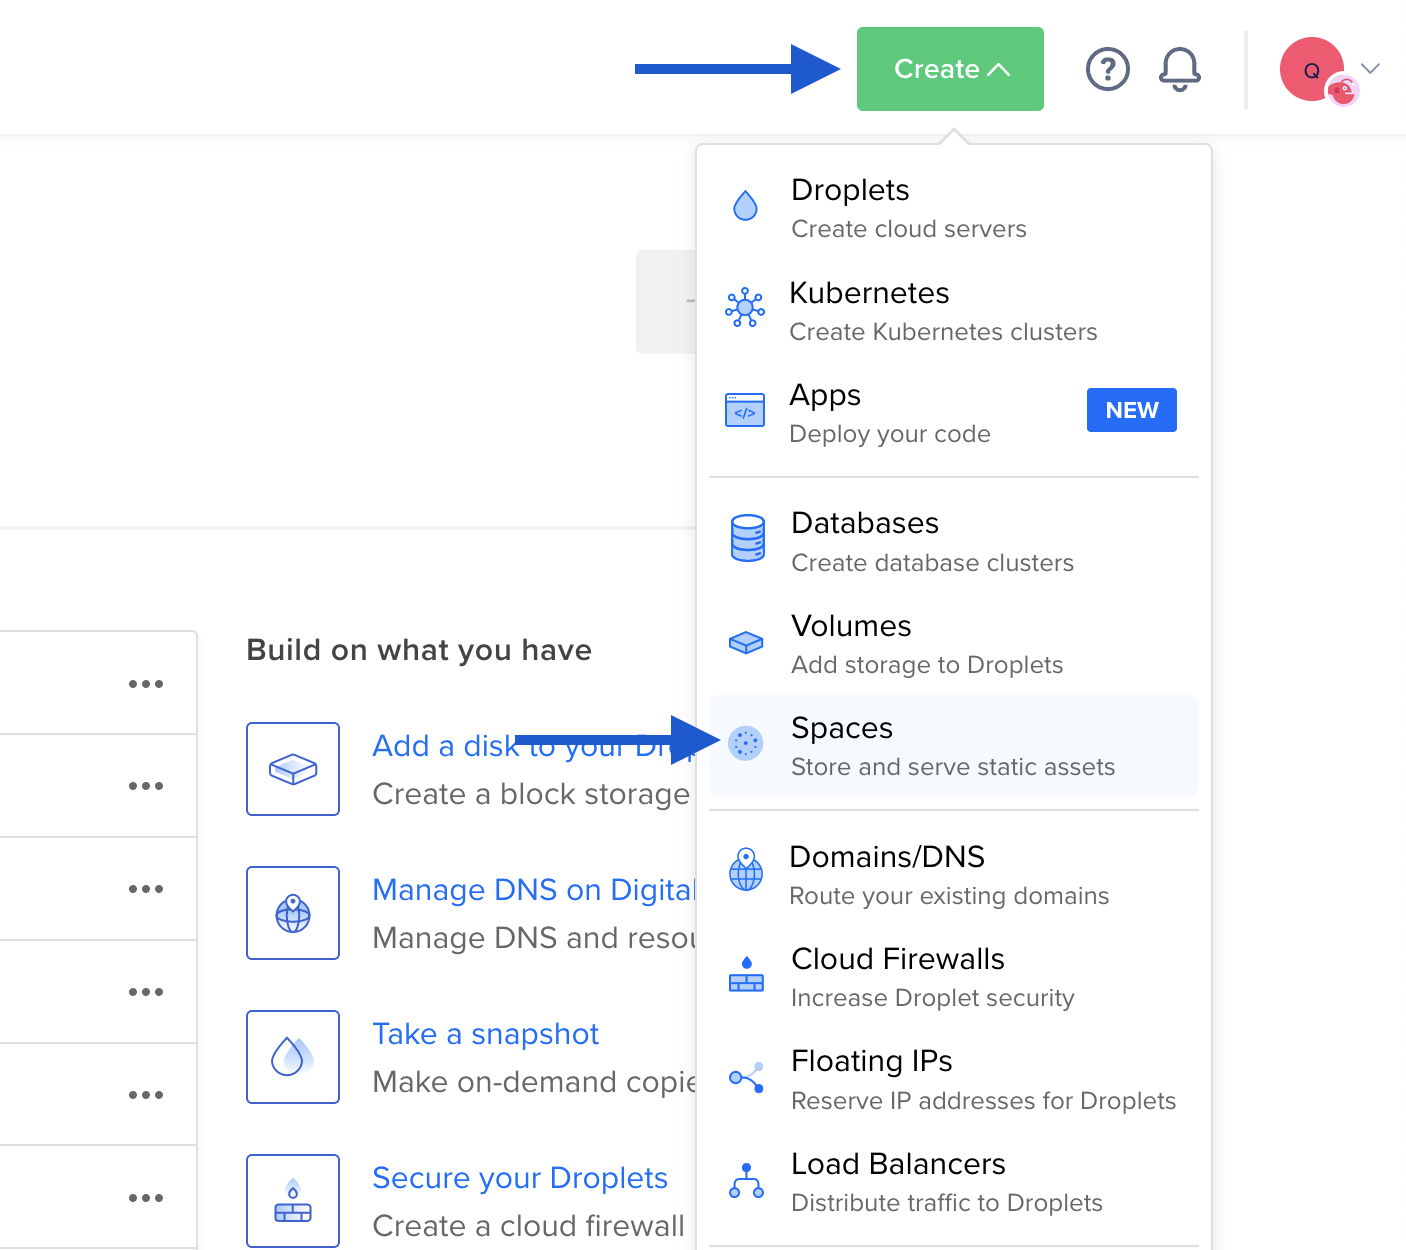
Set up your bucket settings, like name, permissions, cloud region
Connect your application to your bucket (DO Spaces are AWS S3 compatible, this is why we use S3 client in the example):
// Load dependenciesconst aws = require('aws-sdk');const express = require('express');const multer = require('multer');const multerS3 = require('multer-s3');const app = express();// Set S3 endpoint to DigitalOcean Spaces in correct regionconst endpoint = new aws.Endpoint('nyc3.digitaloceanspaces.com');const s3 = new aws.S3({endpoint: endpoint});// Change bucket property to your Space nameconst upload = multer({storage: multerS3({s3: s3,bucket: 'your-space-here',acl: 'public-read',key: function (request, file, cb) {console.log(file);cb(null, file.originalname);}})}).array('upload', 1);If your bucket is private, all you need to do is to set up those environment variables for your application:
- AWS_ACCESS_KEY_ID
- AWS_SECRET_ACCESS_KEY
You can find your secrets in your Space configuration. You can set up secrets in your application by following our guide.
Scaleway
Navigate to Scaleway Console
Click Create, and Spaces button
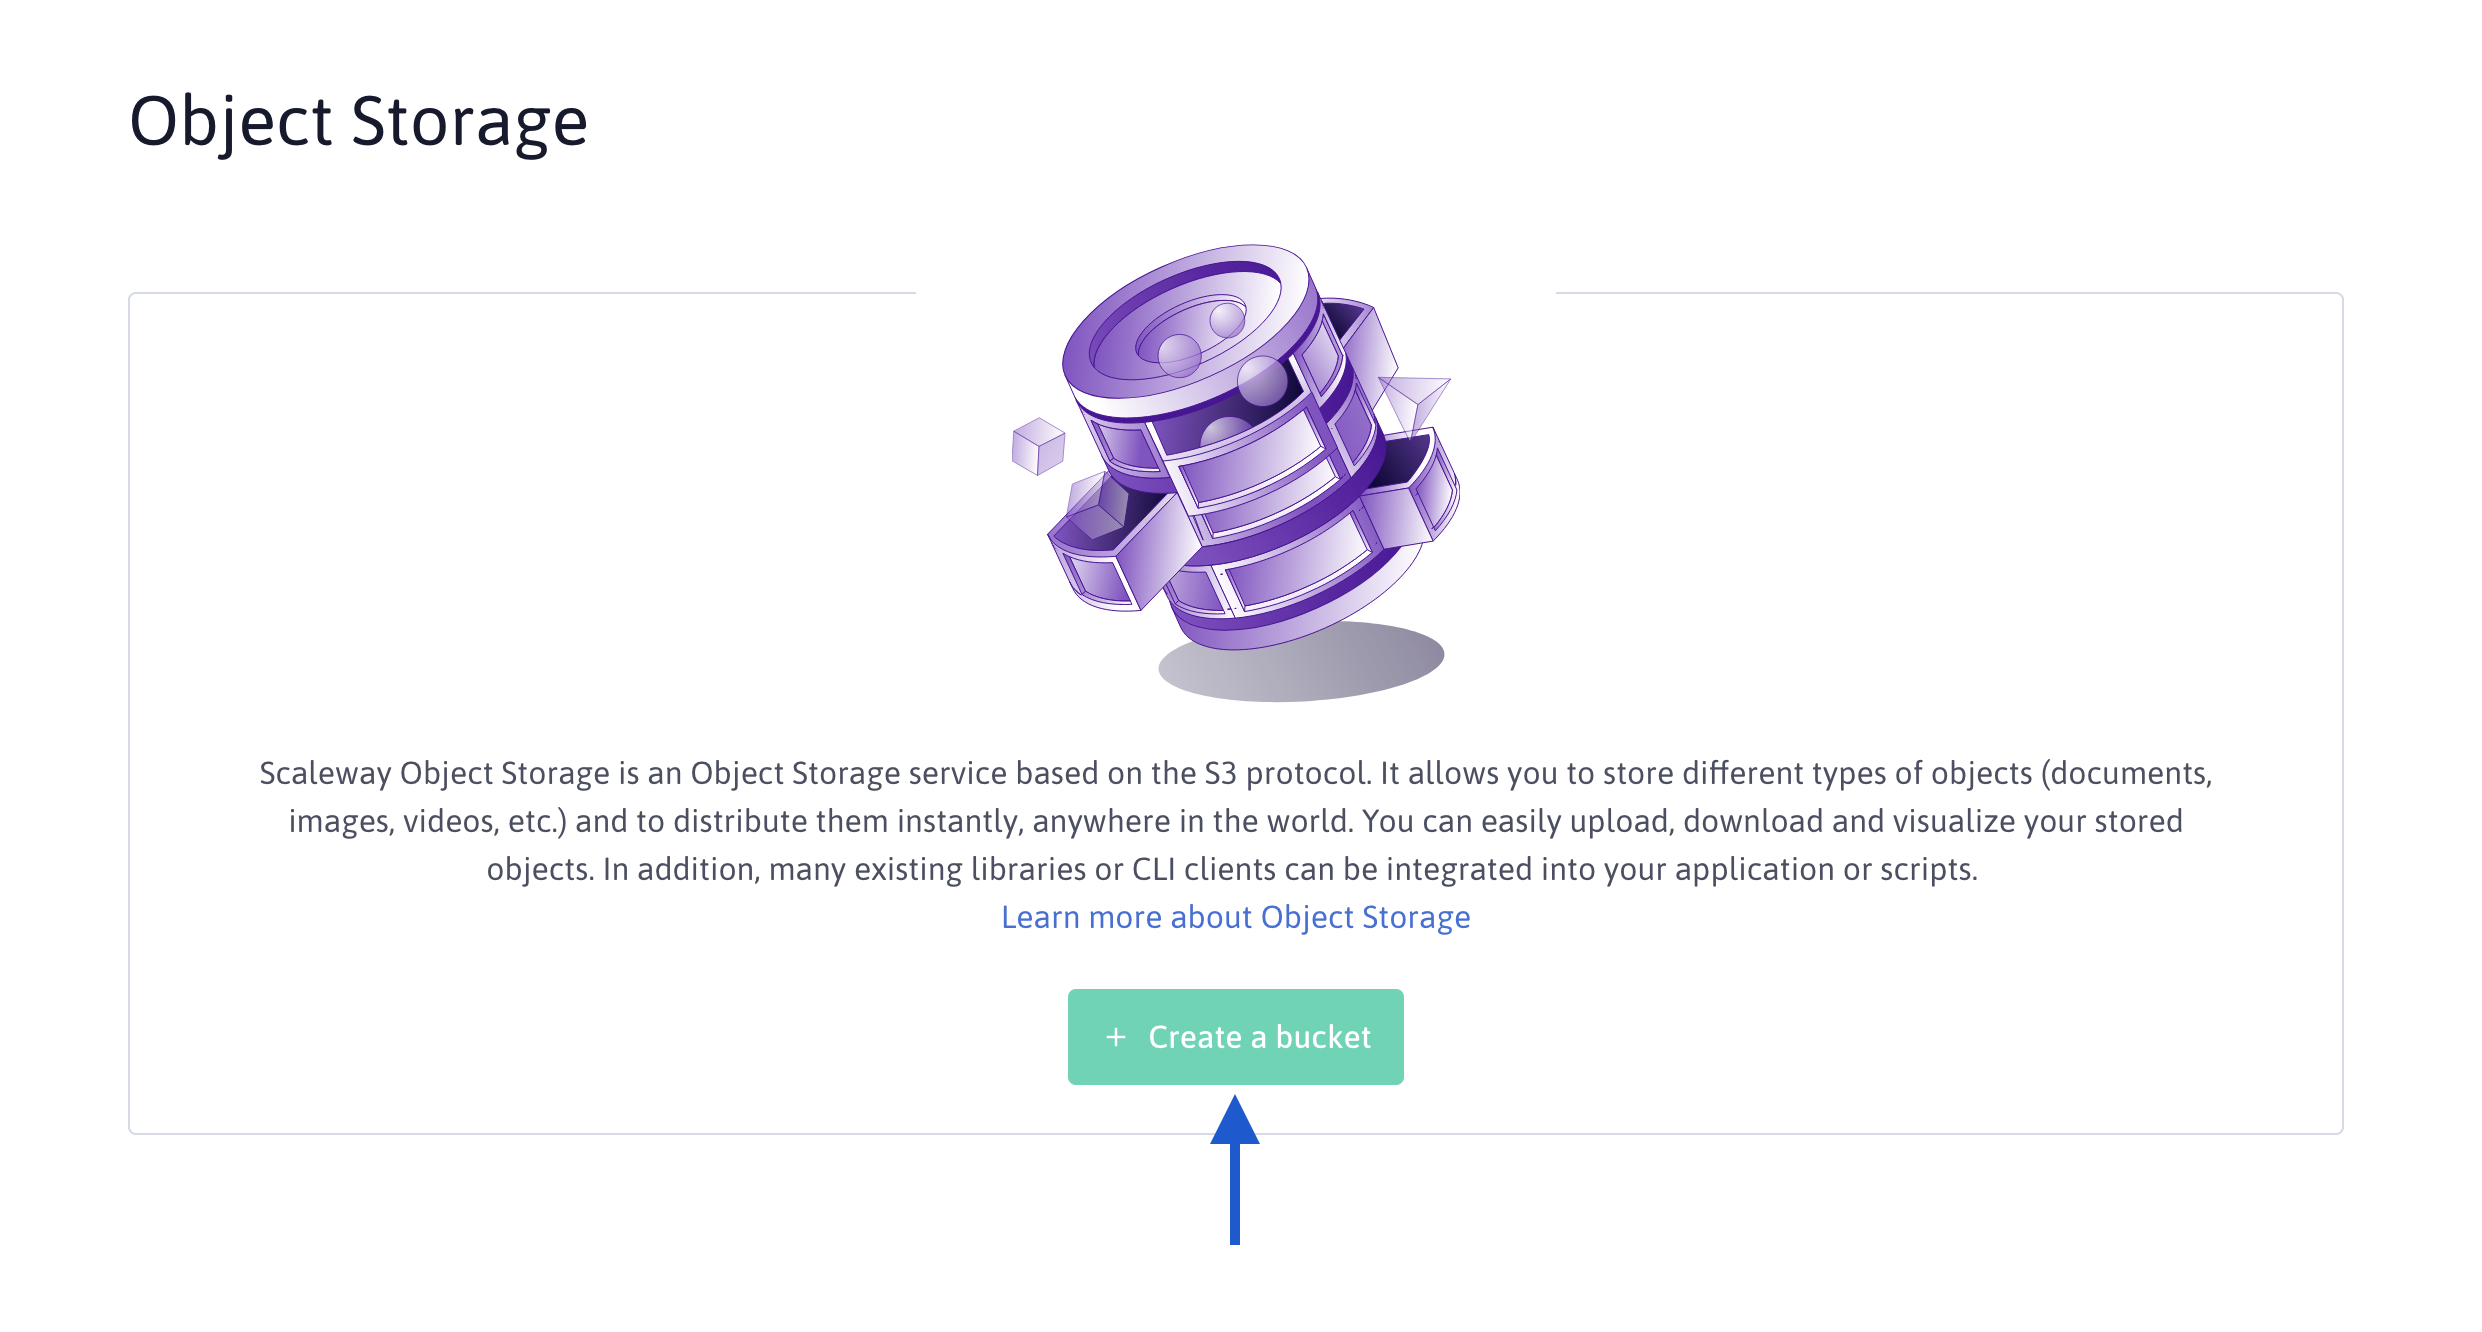
Set up your bucket settings, like name, permissions, cloud region
Connect your application to your bucket (Scaleway Buckets are partly AWS S3 compatible, this is why we use S3 client in the example):
// Load dependenciesconst aws = require('aws-sdk');const express = require('express');const multer = require('multer');const multerS3 = require('multer-s3');const app = express();// Set S3 endpoint to Scaleway Bucket in correct regionconst endpoint = new aws.Endpoint('https://s3.fr-par.scw.cloud.');const s3 = new aws.S3({endpoint: endpoint});// Change bucket property to your Bucket nameconst upload = multer({storage: multerS3({s3: s3,bucket: 'your-bucket-here',acl: 'public-read',key: function (request, file, cb) {console.log(file);cb(null, file.originalname);}})}).array('upload', 1);If your bucket is private, all you need to do is to set up those environment variables for your application:
- AWS_ACCESS_KEY_ID
- AWS_SECRET_ACCESS_KEY
Follow Scaleway guide to get your credentials. You can set up secrets in your application by following our guide.