Cronjob
Before you begin, this documentation assumes the following:
You have created an Environment.
A cronjob is a workload that runs on your kubernetes cluster on a regular bases depending on the configured schedule (See Cronjob on Kubernetes for more info). It is useful to execute tasks on a regular bases, like pulling data from an external service every hour or process the last 24hrs of data in your database.
Qovery allows you to create and deploy cronjobs from two different sources: Git Repository or Container Registry
Deploying from a Git Repository
In this configuration, Qovery will pull the code from the chosen repository, build the application and deploy it on your kubernetes cluster.
The list of Git repositories available during the setup is strictly tied to the permissions of your git account (by default Qovery can access all your repositories). If you want to restrict the Qovery access only to a few repositories, user the GitHub Qovery Application (only for Github).
Deploying from a Container Registry
In this configuration, Qovery will pull the chosen container registry an image you have pre-built and deploy it on your kubernetes cluster.
To improve the security and avoid deploying images from non-authorized registries, we have decided to restrict the list of Container Registry you can use during the setup process. Only an administrator with the right permissions can manage it from the Container Registry Management page
Create a Cronjob
Go into the chosen environment and press the "New Service" button and then the "Create Cronjob" button

Select the following fields:
- Name: give a name to your applicaiton
- Source: Chose between Git Repository or Container Registry, depending on the source location of your application
If you want to deploy a cronjob from a Git Repository you will have to select:
- Git Repository: Select the git provider hosting your code (it can be hosted on GitHub, GitLab or Bitbucket). You can add a new git access by clicking on
New git access. - Branch: Select branch that Qovery should use to deploy your code
- Root Application Path: base folder in which the code resides in your repository
- Build Mode: only Docker is supported
If you want to deploy a cronjob from a Container Registry you will have to select:
- Registry: select the container registry storing the image of your job. You can add a new container registry by clicking on
New registry. - Image name: the name of the image to be deployed with this job (example: postgres)
- Image tag: the tag of the image to be deployed with this job (example: 12)
Auto Deploy
See the Deploying with auto-deploy feature section.
Extra labels/annotations (optional)
Add your extra annotation/label groups. See the Add annotation/label group section for more information.
- Specify the configuration of your job:
- CRON Schedule: specify a valid CRON expression (see Crontab guru for help). After being deployed, the job will be executed following the defined schedule.
- Timezone: select a valid timezone identifier. After being deployed, the job will be executed following the defined timezone.
Etc/UTCis the default value. - Image Entrypoint: the entrypoint to be used to launch your job (not mandatory)
- CMD Arguments: the arguments to be passed to launch your application (not mandatory) separated with a space. Example:
rails -h 0.0.0.0 -p 8080 string "complex arg". - Number of restarts: Maximum number of restarts allowed in case of job failure (0 means no failure)
- Max duration time in seconds: Maximum duration allowed for the job to run before killing it and mark it as failed
- Port: Port used by Kubernetes to run readiness and liveliness probes checks. The port will not be exposed externally
- Within this section, you will need to define the resources to be assigned to your job at run time.
- vCPU: the vCPU assigned to each instance of your application. The default is 500m (0.5 vCPU).
- RAM: the amount of RAM assigned to each instance of your application. The default is 512MB.
Define any input variable required by your job to run. Any declared variable will be injected as environment variables based on the selected scope (project, environment, service) Any additional environment variable can be added later from the environment variable section

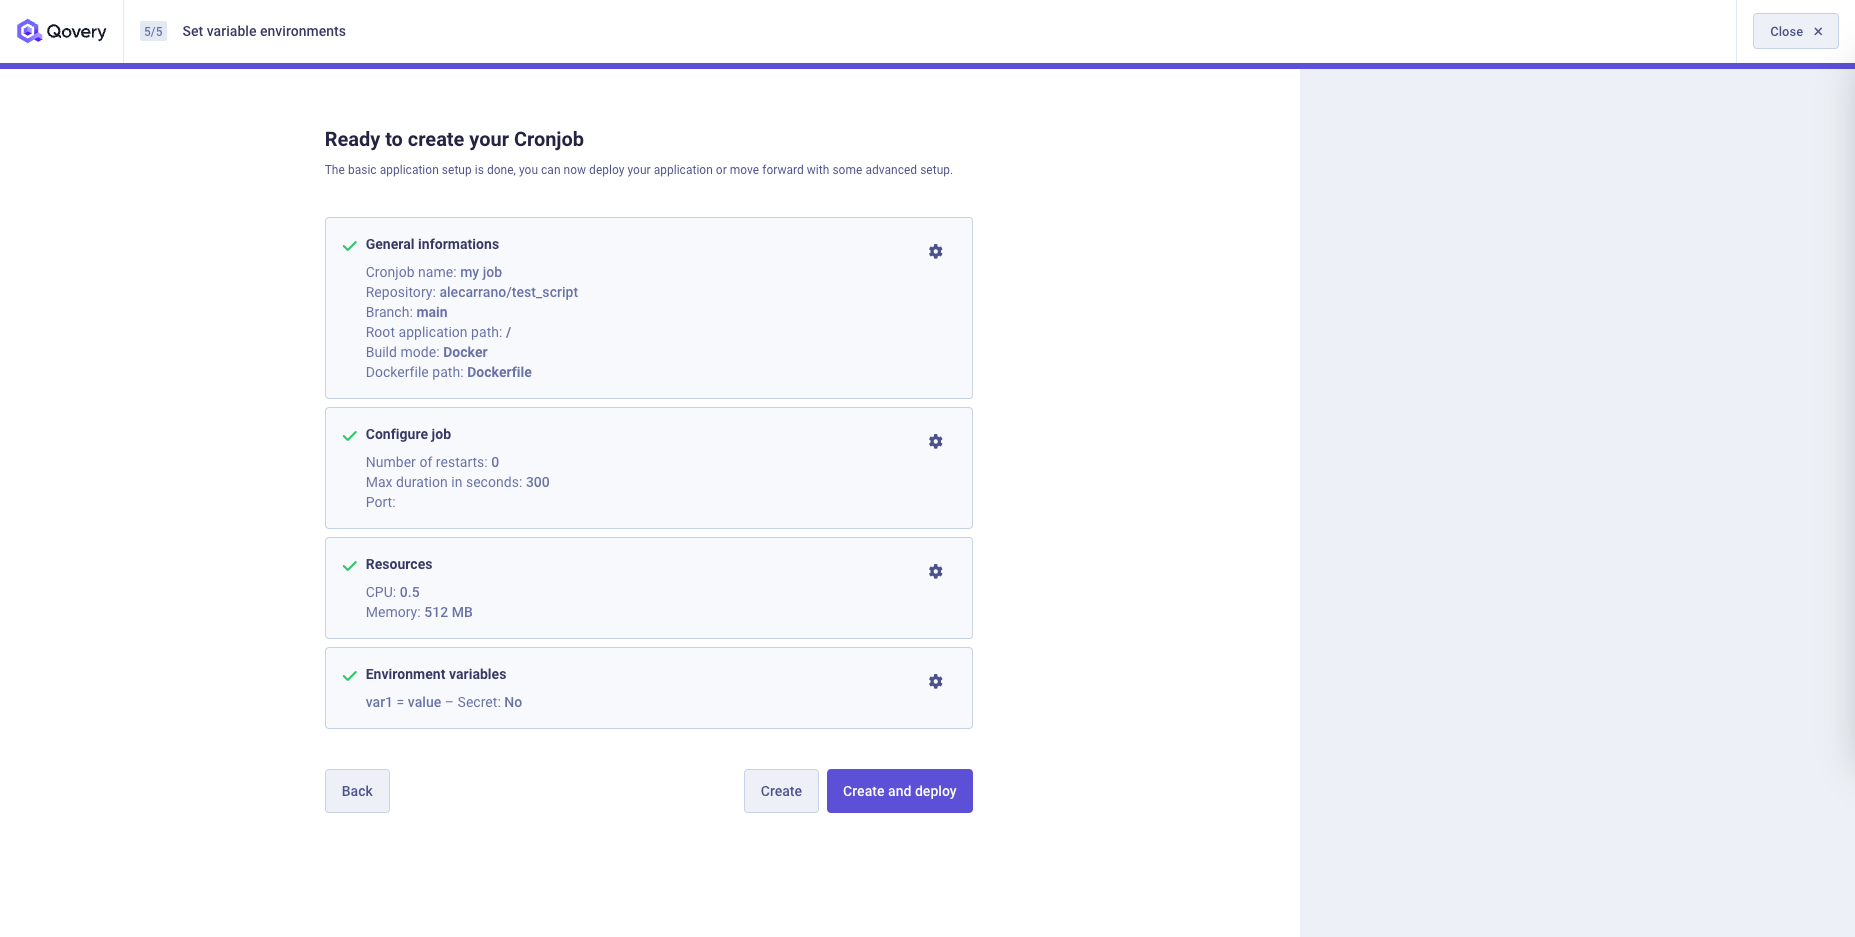
You will find a recap of your job setup and you can now decide to: 1. Go back to one of the previous steps and change your settings 2. Create your job without deploying it 3. Create and deploy your job
Deployment Management
Have a look at the Deployment Management section for more information.
Force Run
You can force the execution of a job independently its deployment status by:
Select the job that you want to force
click on the
Playbutton of the cronjob you want to force and select theForce Runoption. Note: the same option is available on the service list as wellOnce you click, the job will be deployed and executed once. You will be able to follow its execution within the application logs
Configuration
Once created, you can access the configuration at any time via the Settings tab available on the service section
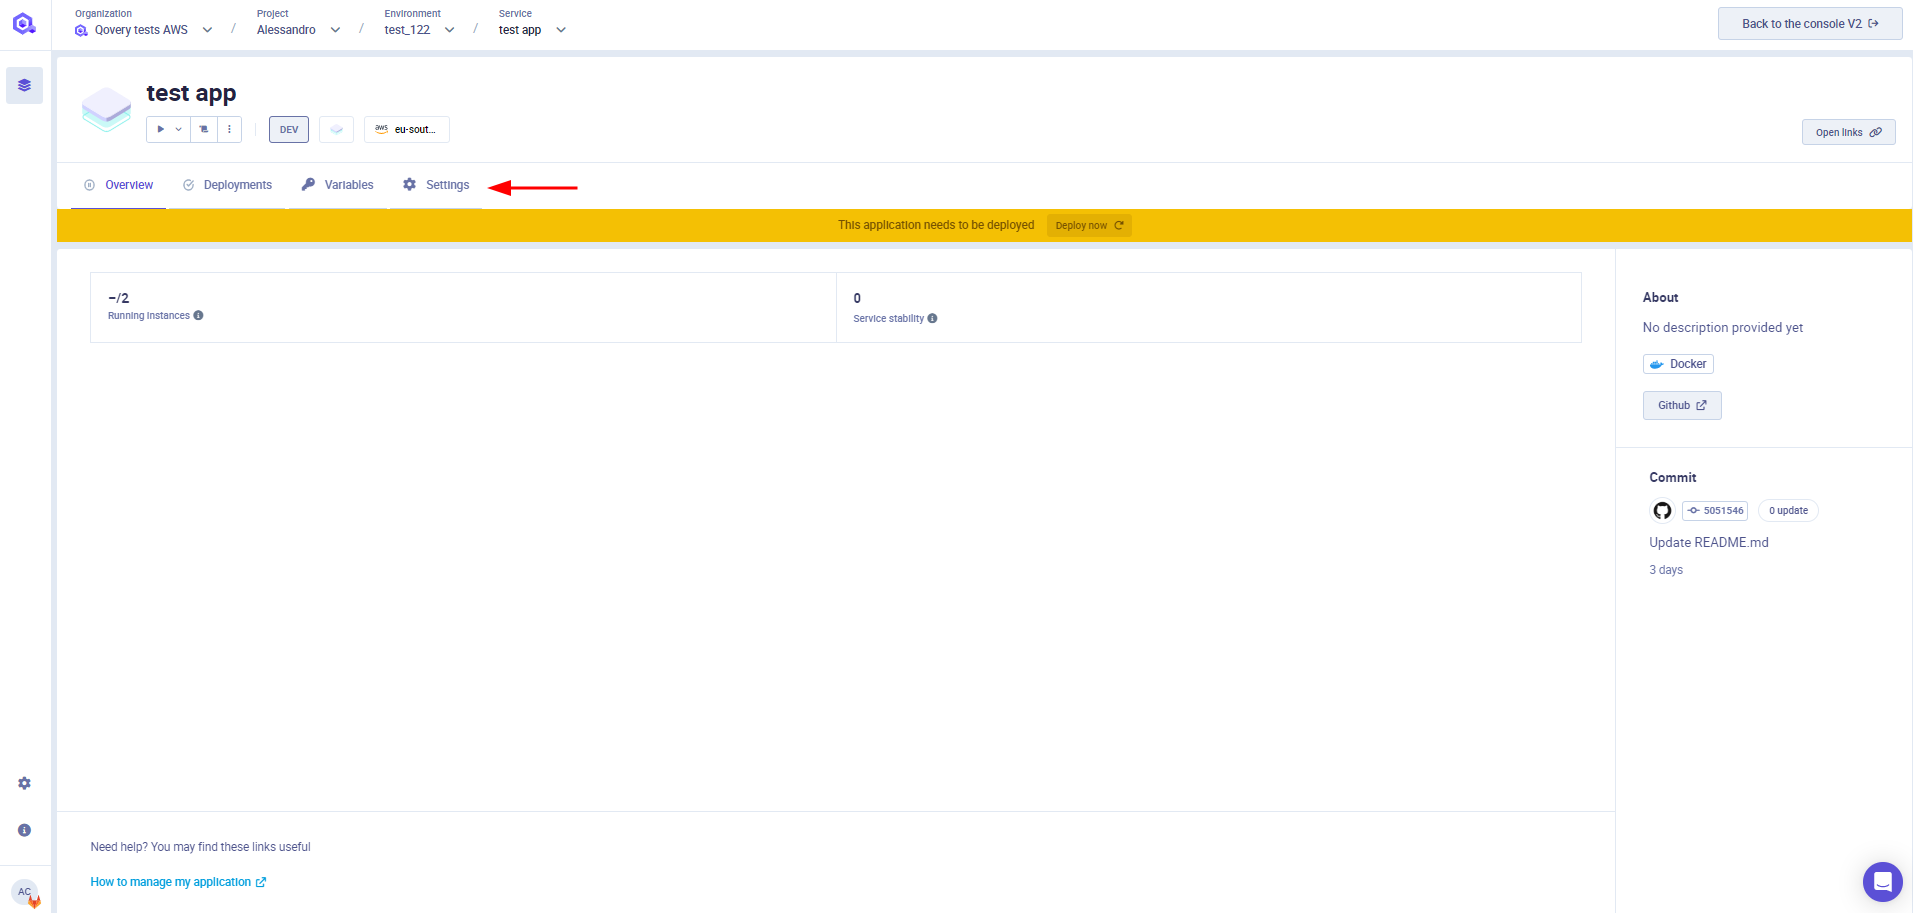
You can find below the description of each of the tabs available in this section
General
General settings section allows you to set up your application name and the source code location (git repository or image registry) .
Git Repository
If your job is built and deployed from a git repository, within this section you can:
- Modify the git provider where your code is stored (it can be hosted on GitHub, GitLab or Bitbucket).
- Modify the branch that Qovery should use for deploying your code
- Modify
Root Application Path- base folder in which the application resides in your repository
Container Registry
If your application is deployed from an image registry, within this section you can modify:
- Registry: select the container registry storing the image of your application. Note: only pre-configured registry are available in this list, check the Container Registry Management page for more information.
- Image name: the name of the image to be deployed with this application (example: postgres)
- Image tag: the tag of the image to be deployed with this application (example: 12)
Build Mode
This option is available only if you have selected "Git Repository" as source. Only Docker is supported
Qovery runs your application within the Container technology. To build and run your application, you need to provide a valid Dockerfile.
After creating a Dockerfile, specify the location of your Dockerfile in Dockefile path field.
Auto Deploy
See the Deploying with auto-deploy feature section.
Extra labels/annotations
Add your extra annotation/label groups. See the Add annotation/label group section for more information.
JOB Configuration
You can modify here the configuration of your job:
- CRON Schedule: specify a valid CRON expression (see Crontab guru for help). After being deployed, the job will be executed following the defined schedule.
- Timezone: select a valid timezone identifier. After being deployed, the job will be executed following the defined timezone.
Etc/UTCis the default value. - Image Entrypoint: the entrypoint to be used to launch your job (not mandatory)
- CMD Arguments: the arguments to be passed to launch your application (not mandatory) separated with a space. Example:
rails -h 0.0.0.0 -p 8080 string "complex arg". - Number of restarts: Maximum number of restarts allowed in case of job failure (0 means no failure)
- Max duration time in seconds: Maximum duration allowed for the job to run before killing it and mark it as failed
- Port: Port used by Kubernetes to run readiness and liveliness probes checks. The port will not be exposed externally
Resources
CPU
To configure the number of CPUs that your job needs, adjust the setting in the Resources section.
Please note that in this section you configure the CPU allocated by the cluster for your application and that cannot consume more than this value. Even if the application is underused and consume less resources, the cluster will still reserve the selected amount of CPU.
RAM
To configure the amount of RAM that your app needs, adjust the setting in Resources section.
Please note that in this section you configure the CPU allocated by the cluster for your application and that cannot consume more than this value. Even if the application is underused and consume less resources, the cluster will still reserve the selected amount of CPU. If your application requires more RAM than requested, it will be killed by the kubernetes scheduler.
Health Checks
To know more about how to configure your Liveness and Readiness probes, have a look at the health-checks section
Deployment Restrictions
This section allows to specify which changes on your repository should trigger an auto-deploy (if enabled). To know more about how to configure your Deployment Restrictions, have a look at the deployment restrictions section.
Advanced Settings
You can further customize the service behaviour via the service advanced settings. Check this documentation to know more.
Environment Variable
To learn how to set up environment variables in your projects and applications, navigate to configuring Environment Variables section.
Secrets
To learn how to set up secrets in your projects and applications, navigate to configuring Secrets section.
Logs
To learn how to display your application logs, navigate to logs section
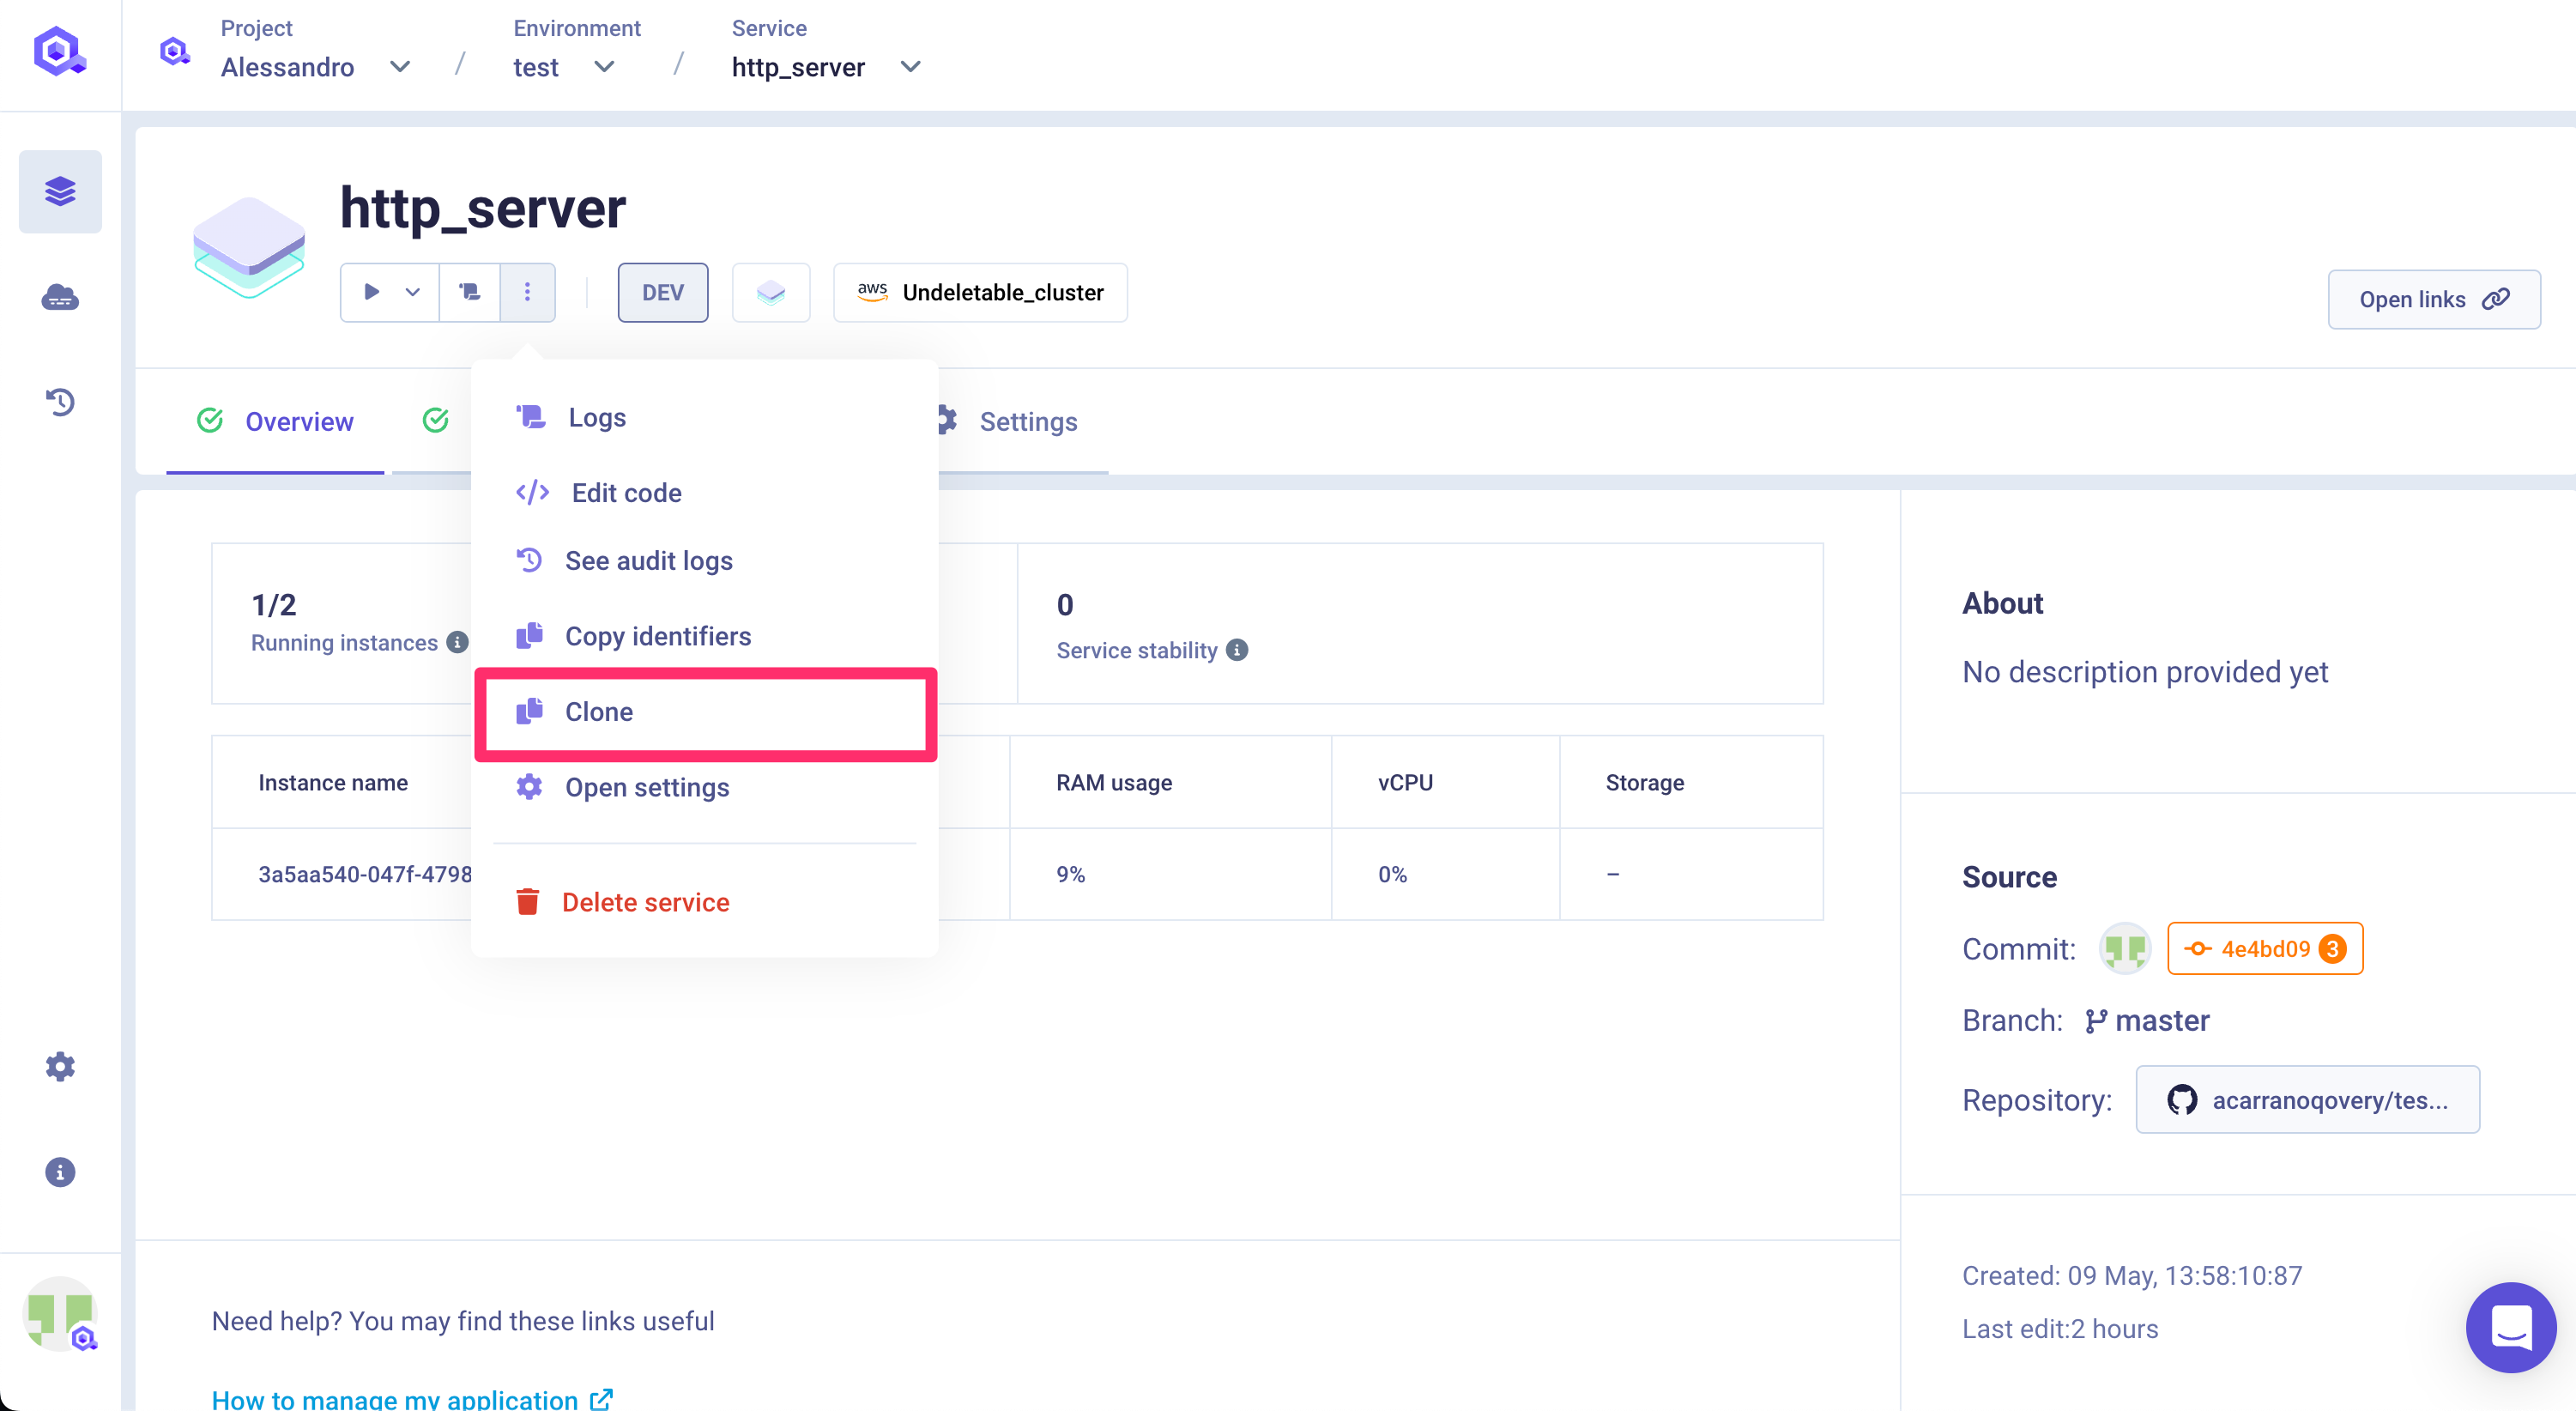
Clone
You can create a clone of the service via the clone feature. A new service with the same configuration (see below for exceptions) will be created into the target environment.
The target environment can be the same as the current environment or even another one in a completely different project.
Important information
Not every configuration parameter will be copied within the new service for consistency reasons. The configuration is fully or partially copied depending on the target environment:
- same environment:
- custom domain: this setup is not copied into the new service (to avoid collision)
- another environment:
- custom domain: this setup is not copied into the new service (to avoid collision)
- environment variable: aliases defined on environment variables are not copied (since the aliased env var might not exist)
- deployment pipeline: stage setup is not copied (since the target stage might not exist)
- number of instances: if the target environment runs on a Qovery EC2 cluster, the max number of instances is set to 1 (Qovery EC2 constraint)
Please check the configuration of the new service before deploying it.
Delete a job
Select the job you want to delete
In the overview, click on the
3 dotsbutton and remove the job. Note: the same option is available on the service list as well