Scaleway kapsule
Creating a Scaleway Kapsule Cluster
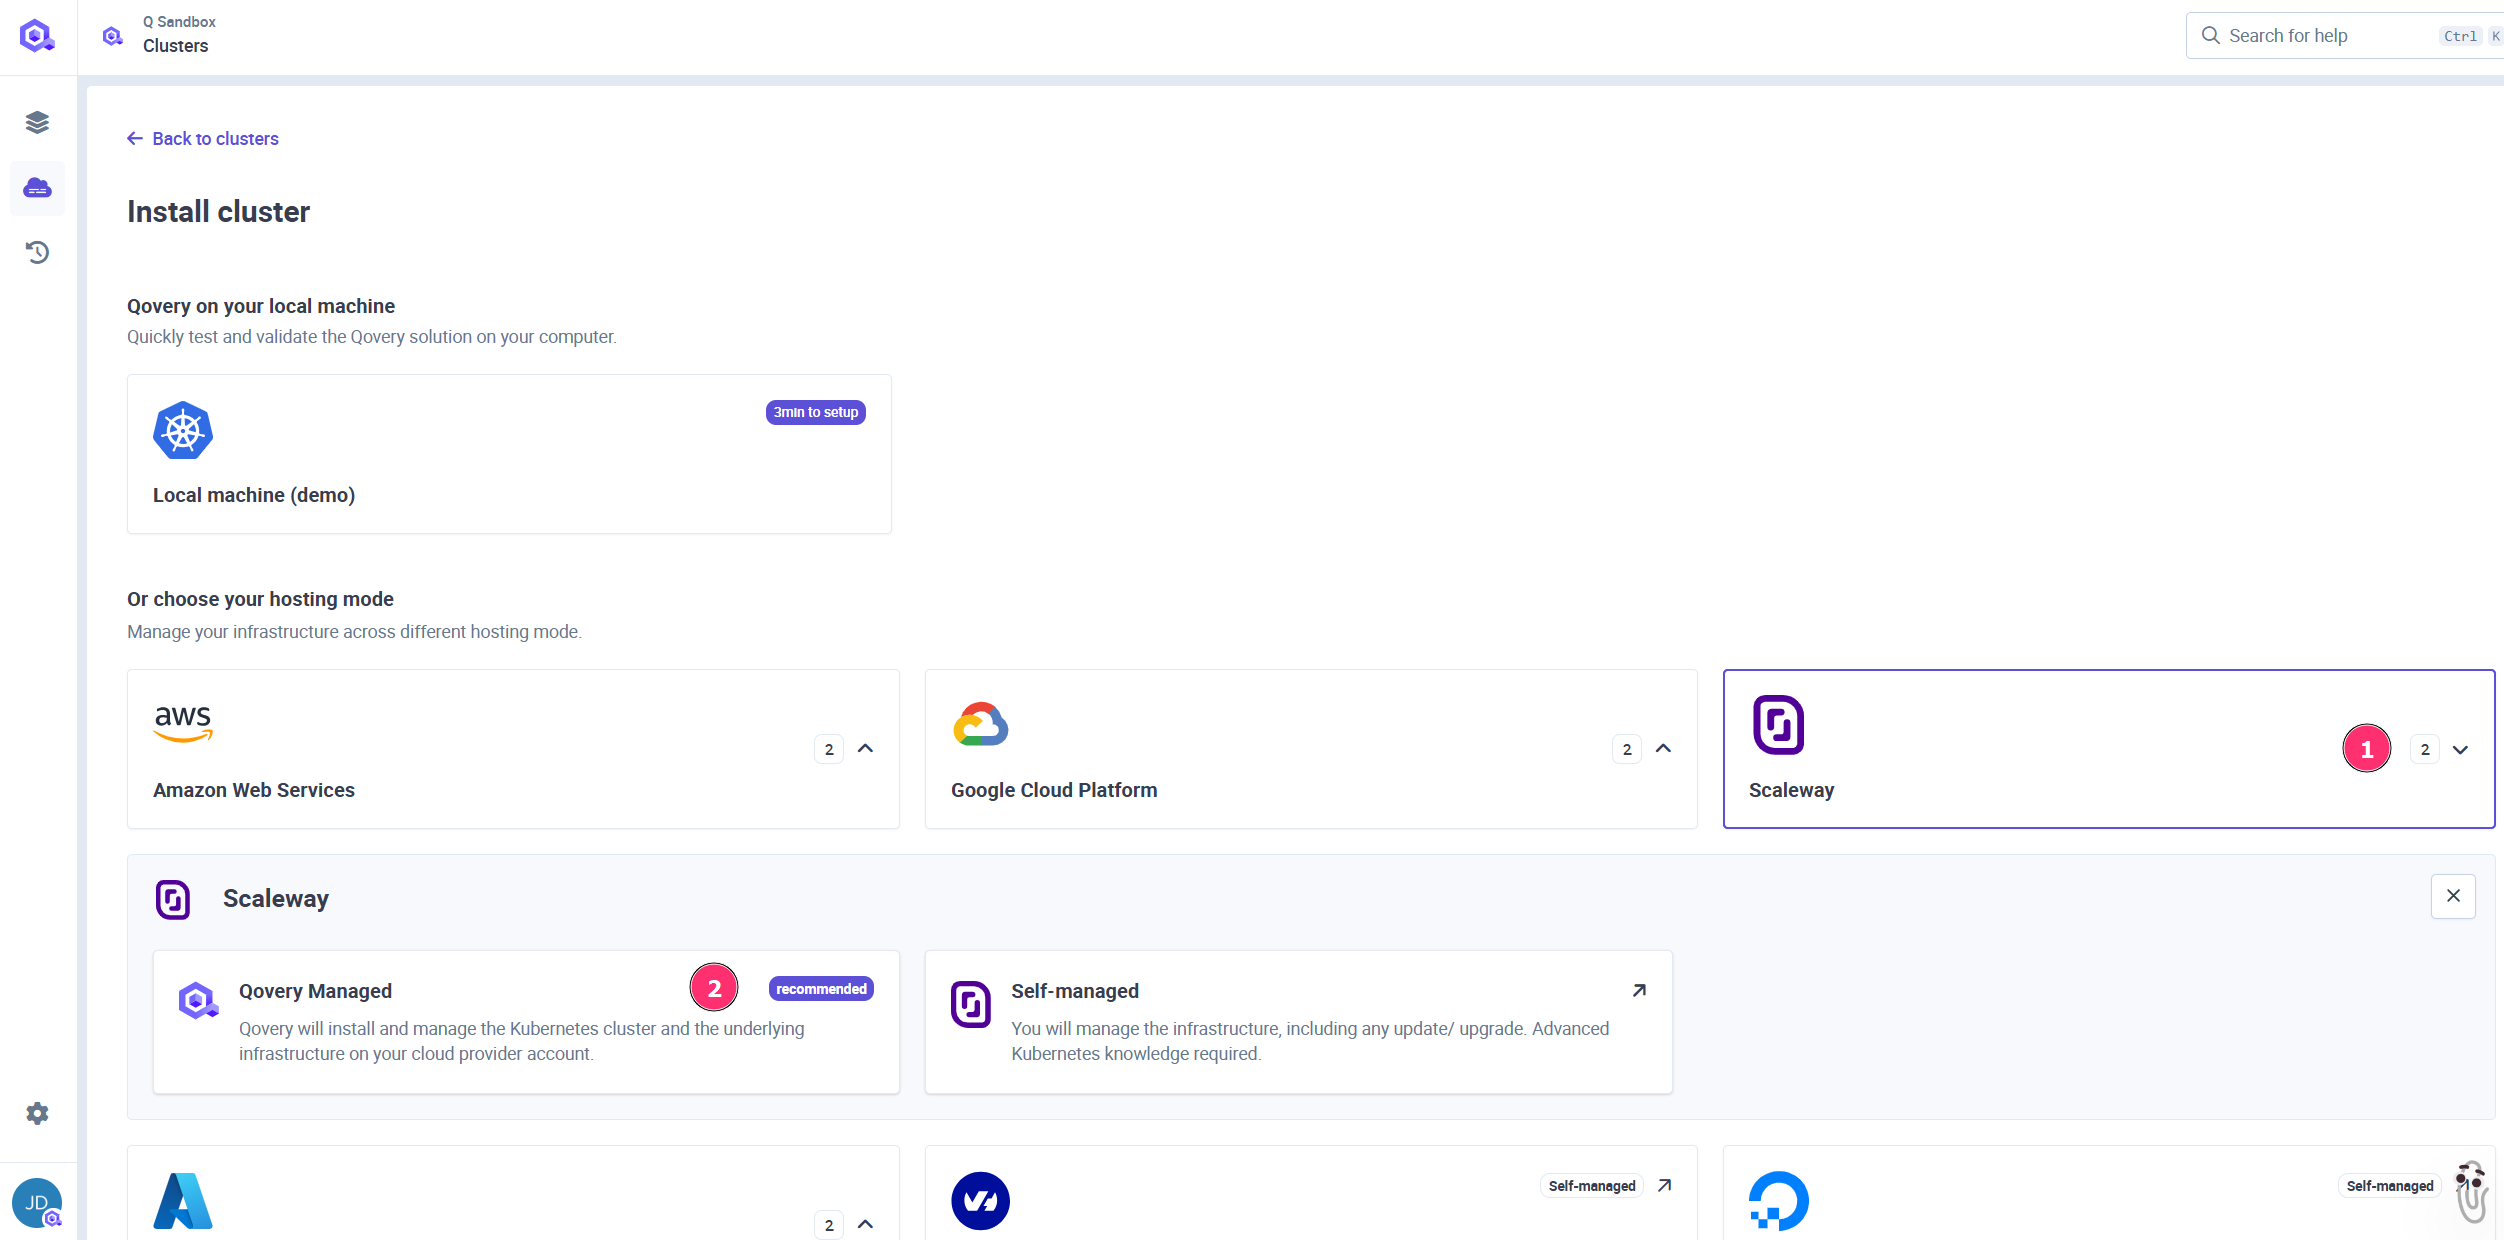
Click on
Scalewayas hosting mode and thenQovery Managedoption:
In the
Create Clusterwindow enter:Cluster name: enter the name of your choice for your cluster.Description: enter a description to identify better your cluster.Production cluster: select this option if your cluster will be used for production.Region: select the geographical area in which you want your cluster to be hosted.Credentials: select one of the existing cloud provider credentials or add a new one by clicking onNew Credentials. In the New credentials window, add the credentials that you have generated on your cloud provider console (Procedure for Scaleway account). Added credentials can be used later to create and manage additional cluster. You can also view the complete list of all your cloud credentials at the organization level, (More info here).
To confirm, click
Next.In the
Set Resourceswindow, select:Instance type: select the type of worker nodes you want to deploy to your cluster.Node auto-scaling: define the minimum and the maximum number of worker nodes that your cluster can run. The lowest number is the number of worker nodes running on your infrastructure at any time, while the highest number is the maximum number of worker nodes that can automatically be deployed as traffic grows. Please note that a minimum of 3 worker nodes is required to deploy your Kapsule cluster.Control plane type: select the type of control plane managing your cluster. Click here to know more
To confirm, click
Next.In the
Ready to install your clusterwindow, check that the services needed to install your cluster are correct.You can now press the
Create and Installbutton.Your cluster is now displayed in your organization settings, featuring the
Installing...status (orange status). Once your cluster is properly installed, its status turns to green and you will be able to deploy your applications on it.You can follow the execution of the action via the cluster status and/or by accessing the Cluster Logs
Managing your Cluster Settings
To manage the settings of an existing cluster:
Open your Qovery Console.
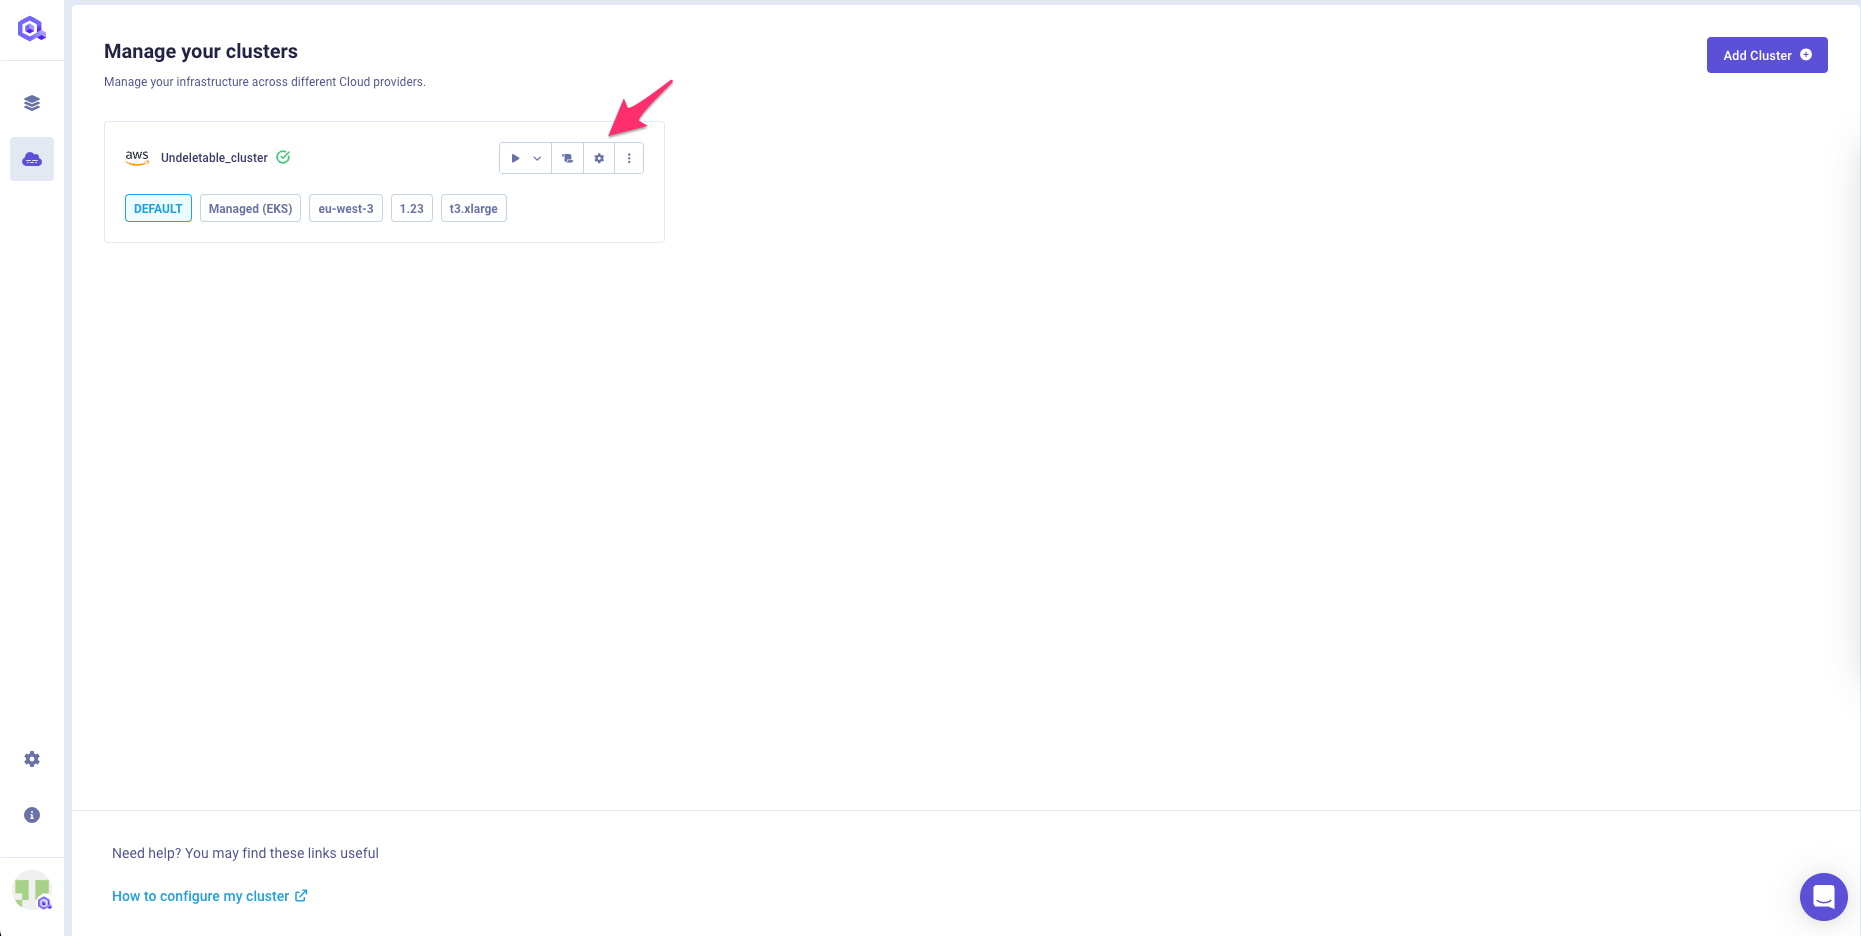
On the left menu bar, click on the Cluster page.
To access your cluster settings, click on the wheel button:

Below you can find a description of each section
General
The General tab allows you to define high-level information on your cluster:
| Item | Description |
|---|---|
| Cluster Name | To edit the name of your cluster. |
| Description | To enter or edit the description of your cluster. |
| Production Cluster | To enter or edit the production flag of your cluster. |
Credentials
Here you can manage here the cloud provider credentials associated with your cluster.
If you need to change the credentials:
- generate a new set of credentials on your cloud provider(Procedure for Scaleway account)
- create the new credential on the Qovery by opening the drop-down and selecting "New Credentials"
Once created and associated, you need to updating your cluster to apply the change.
Mirroring registry
In this tab, you will see that a container registry already exist (called registry-{$UIID}).
This is your cloud provider container registry used by Qovery to manage the deployment of your applications by mirroring the docker images.
The credentials configured on this registry are the one used to create the cluster. But you can still update them if you prefer to manage them separately (dedicated pair of creds just to access the registry).
Check this link for more information.